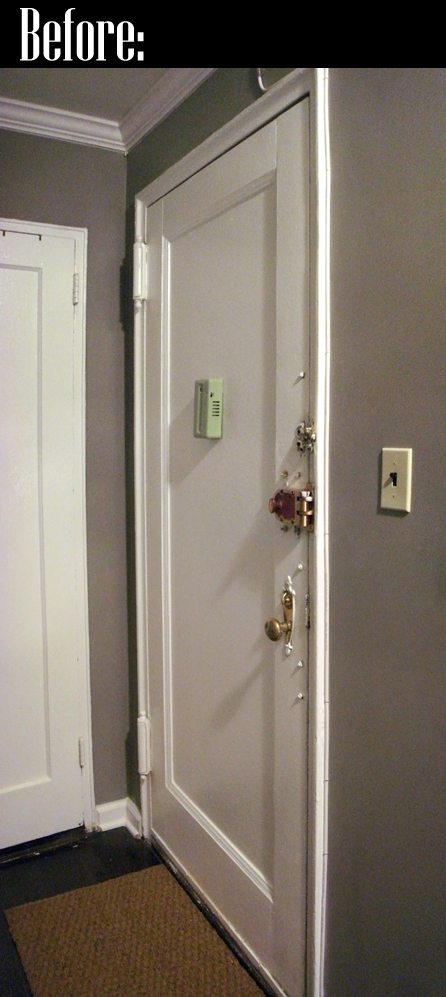
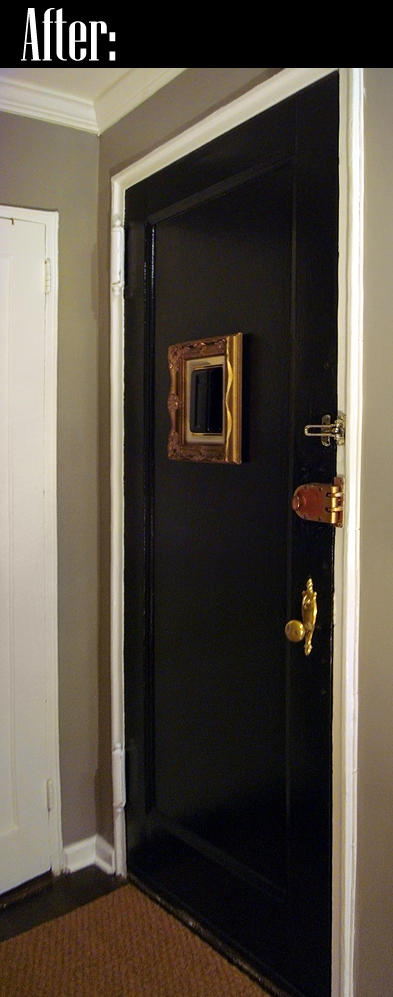
Last weekend I finally got around to painting our front door. For those of you who have seen my old apartment, this won’t seem that new or exciting. I used the same picture frame and the same leftover can of paint from my old place. Ever since I moved to NYC, I’ve been completely obsessed with the glossy black front doors on many buildings, restaurants, and brownstones in the city. I love the old world vibe and the manly, dignified feeling that they convey. Click below to read more about my process!
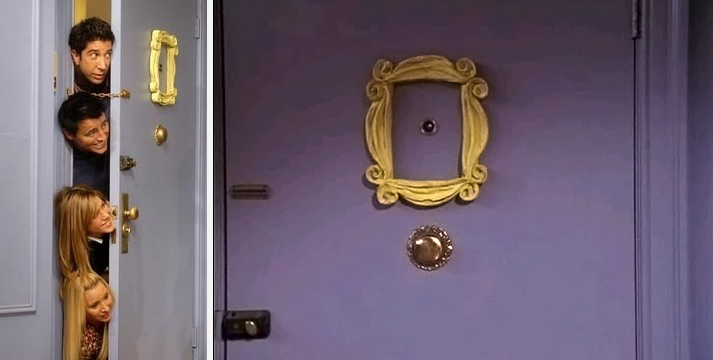
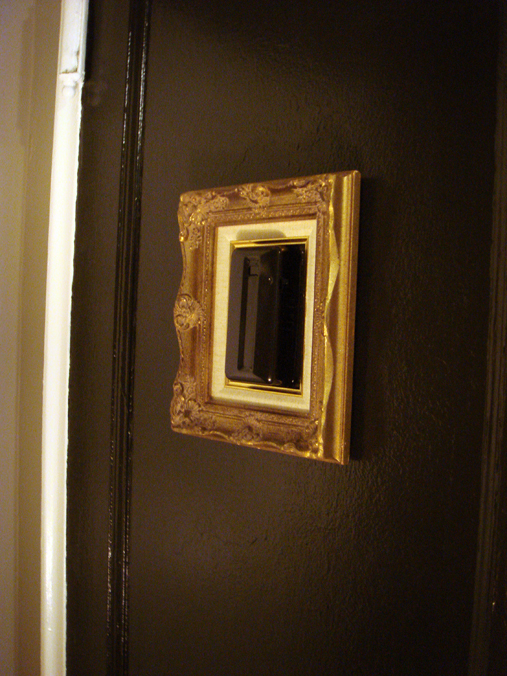
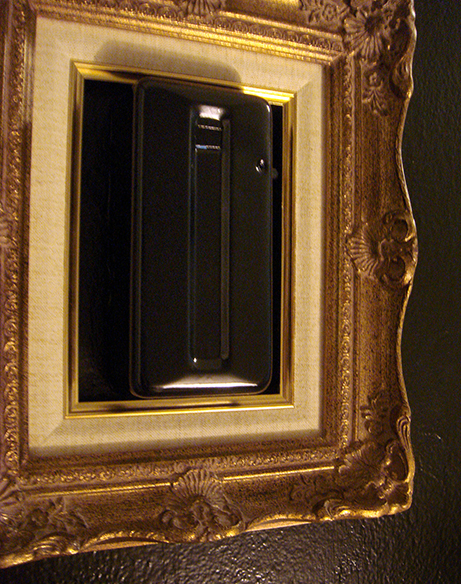
The framed peep hole idea came from a different source of inspiration. I actually got the idea by watching the TV show Friends. On the show, Monica’s apartment had a picture frame around her peep hole. I loved the idea of dressing up such a utilitarian thing while distracting from it at the same time. While Monica’s door is purple and whimsical, I chose to keep mine more classic and baroque, maintaining that old NYC look.
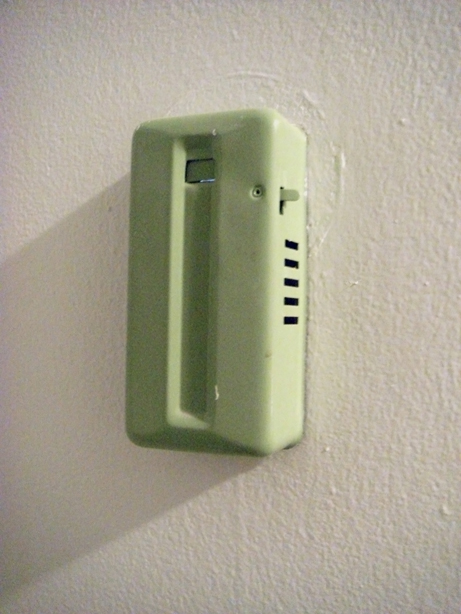
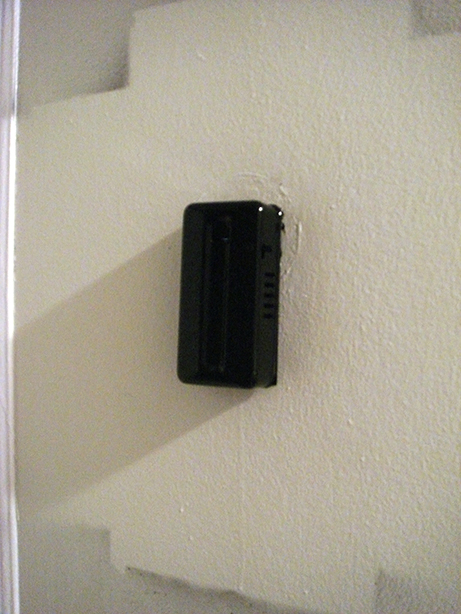
So here’s how I did it. The first step was to paint the box that houses both the peep hole and the door bell. It was originally painted with a retro avocado green colored enamel. I decided that it should be black to match the rest of what the door would become.
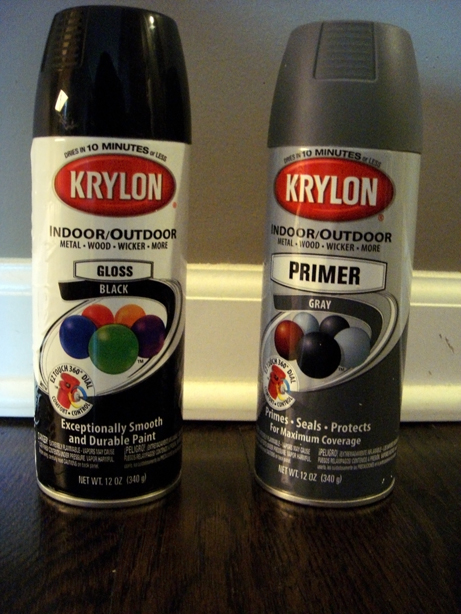
I bought a spray primer that would work on metallic surfaces and glossy black spray enamel from my local hardware store. I then prepped the surface by cleaning with soap and water then drying.
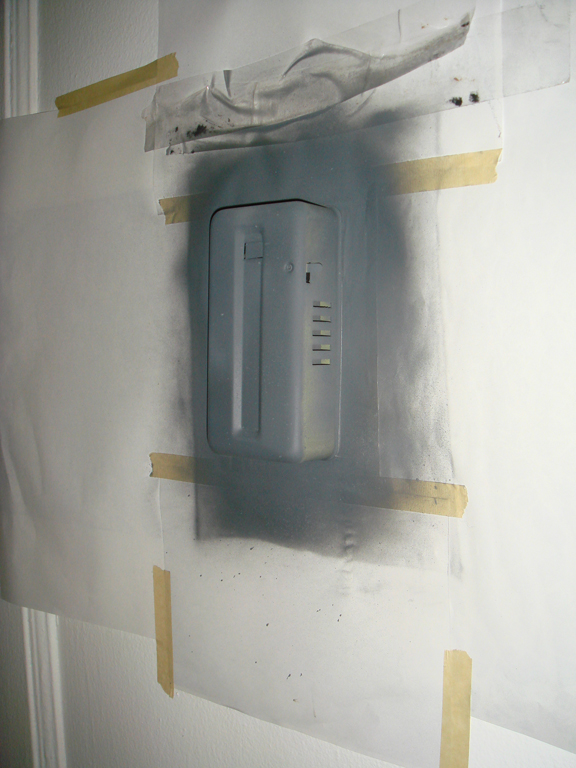
After masking around the box, I sprayed an even coat of primer and gave it about an hour to dry. Then I lightly sanded with very fine sandpaper and sprayed on one more coat which I also sanded upon drying. Its important to wipe off any dust from sanding so that you don’t get lumps under your next coat of paint.
Once the primer was dry I started spraying on coats of spray enamel, also allowing an hour to dry between coats. If any lumps appeared from dust or an uneven glob of paint, I’d sand that off in the same way I did with the primer. I think I did a total of three or four thin coats until I was satisfied with the coverage. NOTE: Do not sand the last coat, you want that to be nice and glossy.
After wards, I removed the tape and paper I used to mask off the peep hole box. As you can see, there was a bit of over spray. Normally I would have created a spray box to contain the over spray, but since I was planning to paint the door anyway, I figured it didn’t matter.
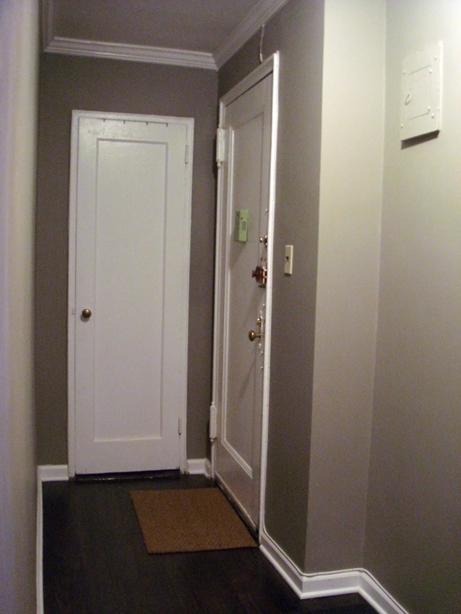
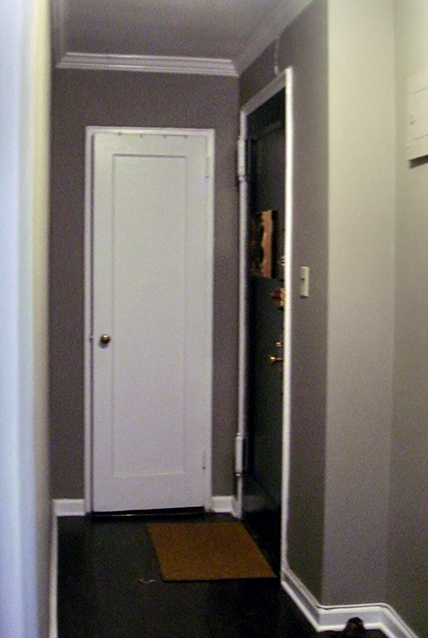
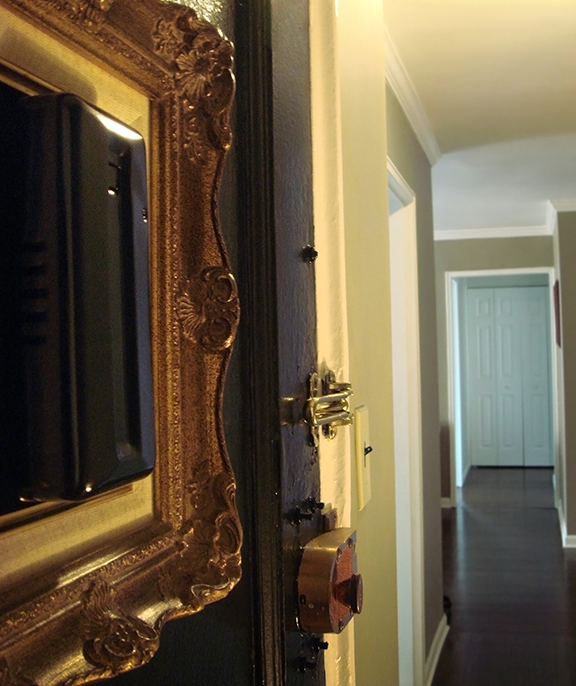
The easy part was painting the door. I just used two coats of a can of glossy black Behr house paint with primer. In my old apartment, I painted the molding black, but this time I decided to leave it white to match the neighboring coat closet.
Once the paint had dried sufficiently I hung the picture frame. I opted to use 3m command picture hanging strips since the door is made out of metal and would be too much effort to nail or drill holes.
So here are more pics of the final result!! One added bonus of having a contrasting color for the door is that people will no longer get confused and try to exit through the coat closet (Its happened to guests a couple times already!).



pretty! where do you get your picture frames?
I actually found the frame on ebay for a good price. I think I searched “baroque frame”
the first thing i thought of when i saw the picture frame was “friends”! and then i continued to scroll down and saw the “friends” pic!!! =D
how are you liking the 3m fasteners? i saw these on commercial and thought that they were a good idea b/c they claim that you can remove them without damaging your walls. but then i was wondering how sturdily they stick to your walls, especially when you have weight hanging from it. on the commercial it looked like they pulled them off really easily (which i guess is the point ) but that led me to wondering…if they come off that easily, will a large picture frame just fall after, say, 3 months or something?
ebay…I think I might be the last person yet to use it!
PS I love all your posts! It’s so fun to see the transformations. Keep up the amazing work! you inspire! ^_^
I actually really love the 3M command strips, but I only use them when necessary. For picture frames, I prefer to do it the traditional picture hangers that you nail into the wall. it seems more sturdy to me. But I’ve had especially good experiences with the 3M command wall hooks. One problem I encountered with the mounting strips with this specific project is that they did not stick to the glossy painted surface very well. I actually had to paint on a small patch of matte paint so that it would stay in place.
oh ok! that’s really good to know for future reference!! love these posts!! your place is really coming together now! =)
looks lovely~~!! this is like ‘sarah’s house’ (hdtv show) except in the city/an apt
that’s brilliant! and looks so great too, what a nice touch to the back of the door 😀
you should submit something to this website!
http://www.designsponge.com/category/before-and-after