Follow Me on Pinterest follow us in feedly like us on facebook

Email Subscription

Enter your email address:

Delivered by FeedBurner


Wooden Vase Update Using Paint and Gold Leaf

As promised in my last post, here’s another great project that involves gold leaf.  You can do this with any wooden object.

Wooden Vase Update Using Paint and Gold Leaf  - >> joeandcheryl.com <<

Years ago, back when I was still single and living in a rental, I didn’t want to invest too much time and money into decorating a place that was only temporary. I bought this cute little wooden vase from Crate and Barrel, but I still had no solid vision for how I wanted my place to look. I bought it not thinking about how it would coordinate with everything else.  So now that I’m really seriously decorating a home that I own, I find that the dark wood blends in too much with my dark, neutral decor. It basically just disappears, and does not fit in with my over-all vision for the place.

Not ready to get rid of a relatively high quality item, I decided that a color blocked (or dip-painted) paint job with gold trim would be the perfect way to brighten AND glam it up! Here’s how I did it:

To start, find the midpoint of your object and mask off a straight line.  The grain of the wood helped me to keep the line straight, but measuring might be required for a more irregular shape. Use old news paper or scrap paper to shield the rest of the vase that you want to keep the original wood finish.

Wooden Vase Update Using Paint and Gold Leaf  - >> joeandcheryl.com <<

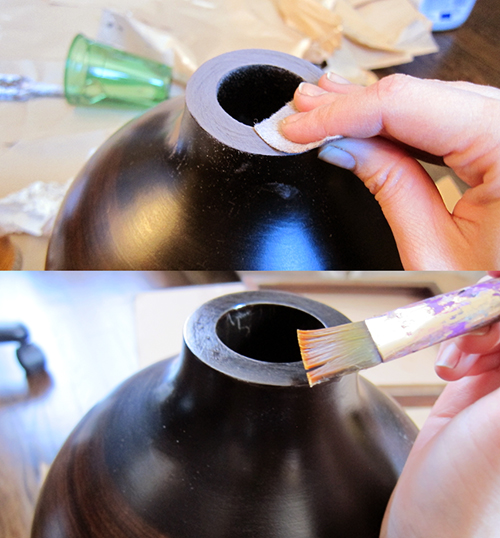
Next prep your surface for painting.  I used the exact same technique and paint that I did for my kitchen cabinets. This video does a great job of explaining it. Anyway, clean and sand your surface.  Make sure to wipe off all of the dust with a damp rag.

Wooden Vase Update Using Paint and Gold Leaf  - >> joeandcheryl.com <<

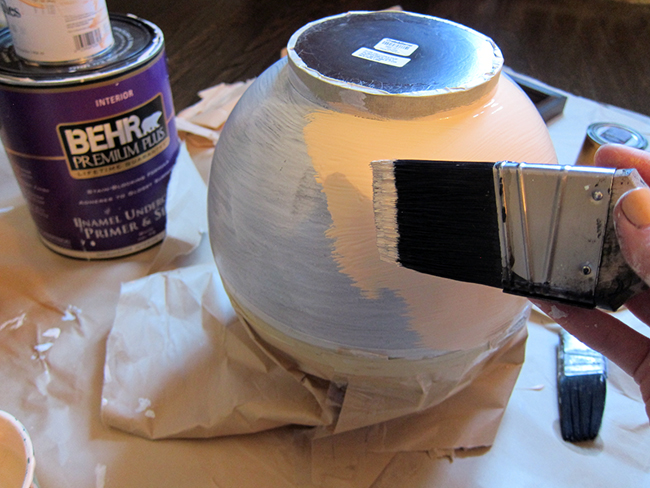
Next brush on a thin layer of primer.  I used Behr Enamel Undercoater Primer and Sealer for glossy surfaces. It was left over from when we fixed up the kitchen.

Wooden Vase Update Using Paint and Gold Leaf  - >> joeandcheryl.com <<

Wooden Vase Update Using Paint and Gold Leaf  - >> joeandcheryl.com <<

Once the primer is dry, start applying paint.  Here are a few tips that I’ve mentioned before:

-Don’t wait too long, primer works better if you act quickly.
-Keep your paint thin.  It’s better to do several thin coats than one thick coat.  It will be smoother with less brush stroke texture.
-Always send your paint strokes towards the direction of the area that you’ve already painted.

I used the left over white paint from our kitchen cabinets (Behr Interior Semi Gloss Enamel).

Wooden Vase Update Using Paint and Gold Leaf  - >> joeandcheryl.com <<

To get that pastel orangy-peachy color you see in the pictures I added a squirt of red and yellow interior paint samples that I happened to have lying around. Make sure to mix it thoroughly if you don’t buy pre-mixed paint.

Wooden Vase Update Using Paint and Gold Leaf  - >> joeandcheryl.com <<

Unfortunately, since I’ve had this old can of paint for quite some time, it had started to thicken.  I was too lazy to buy a latex conditioner and my paint went on with a bad brush stroke texture.  I’m hoping it will flatten out over time as it dries more.

Wooden Vase Update Using Paint and Gold Leaf  - >> joeandcheryl.com <<

Wooden Vase Update Using Paint and Gold Leaf  - >> joeandcheryl.com <<

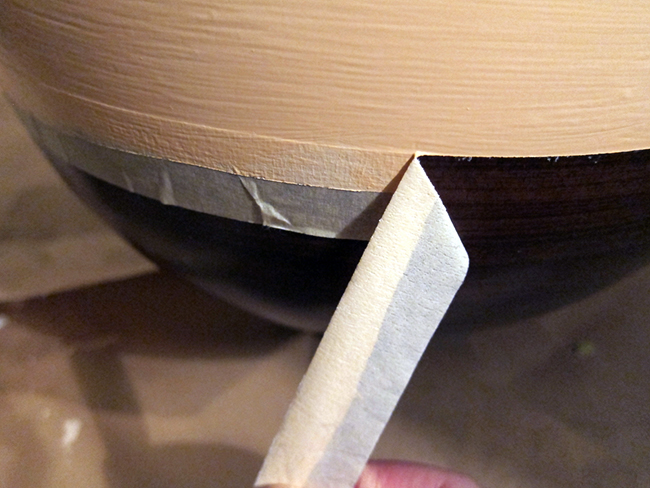
You’ll probably need to apply two or three coats.  When everything dries, remove the masking tape VERY CAREFULLY! I found the best way to do this is pulling flat against the surface, in the opposite direction from the painted area.  Do this VERY SLOWLY to prevent the paint from tearing off with the tape.

Wooden Vase Update Using Paint and Gold Leaf  - >> joeandcheryl.com <<

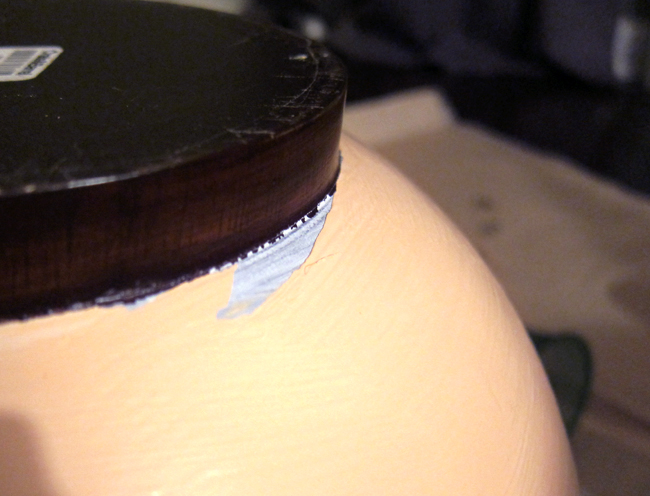
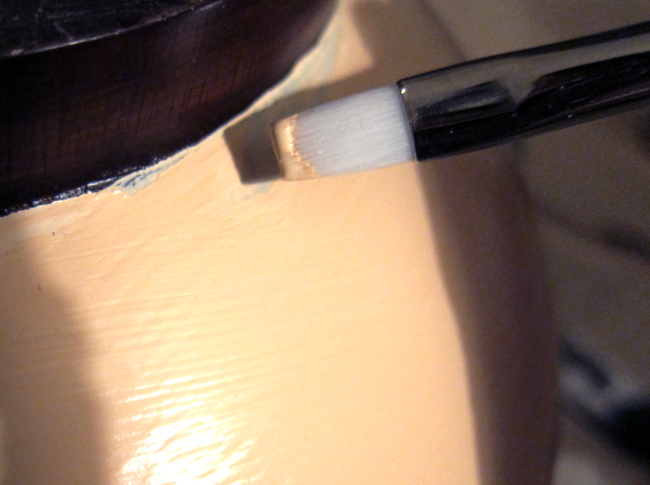
If you do accidentally tear off some pf the paint like I did in the picture below, Just touch it up with a small paint brush.

Wooden Vase Update Using Paint and Gold Leaf  - >> joeandcheryl.com <<

Wooden Vase Update Using Paint and Gold Leaf  - >> joeandcheryl.com <<

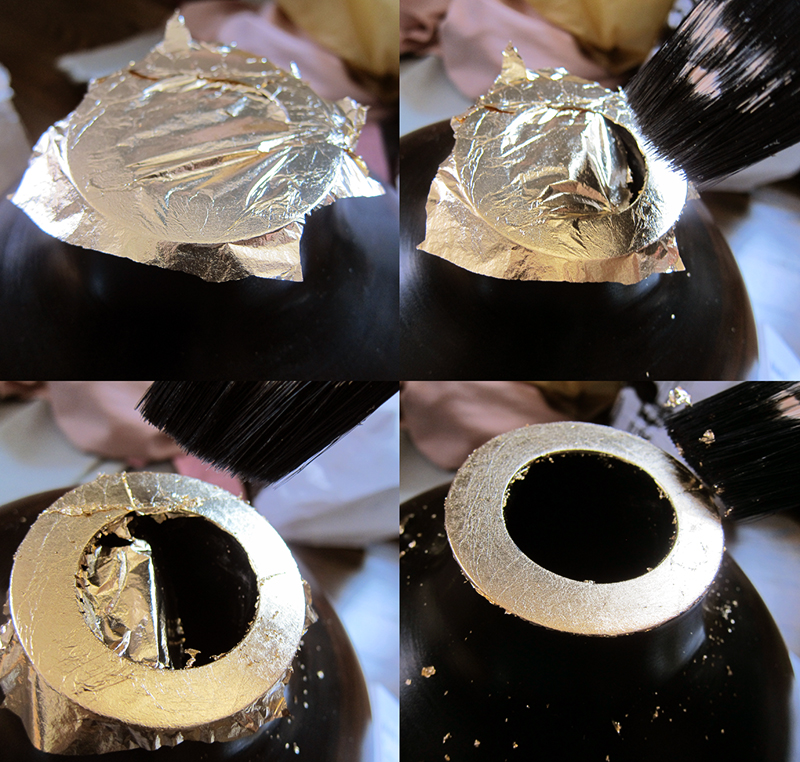
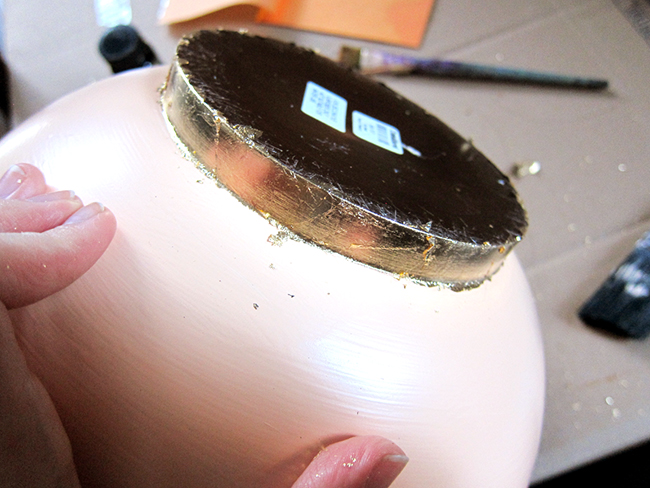
Now that all the painting is done (and dry), you can finish things off with the gold leafed trim.  I did this the exact same way I did the picture frame in my last post.

Sand, clean off dust, paint on adhesive:

Wooden Vase Update Using Paint and Gold Leaf  - >> joeandcheryl.com <<

Apply gold foil:

Wooden Vase Update Using Paint and Gold Leaf  - >> joeandcheryl.com <<

Wooden Vase Update Using Paint and Gold Leaf  - >> joeandcheryl.com <<

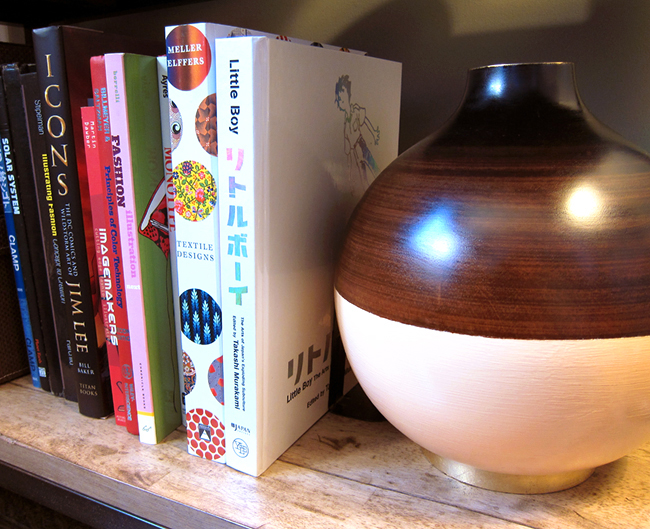
This whole project was really quick and I think the vase now looks super trendy, modern, and just over all happier.  Love it!

Wooden Vase Update Using Paint and Gold Leaf  - >> joeandcheryl.com <<

Wooden Vase Update Using Paint and Gold Leaf  - >> joeandcheryl.com <<


A Simple DIY Picture Frame Update – Gold Leafing

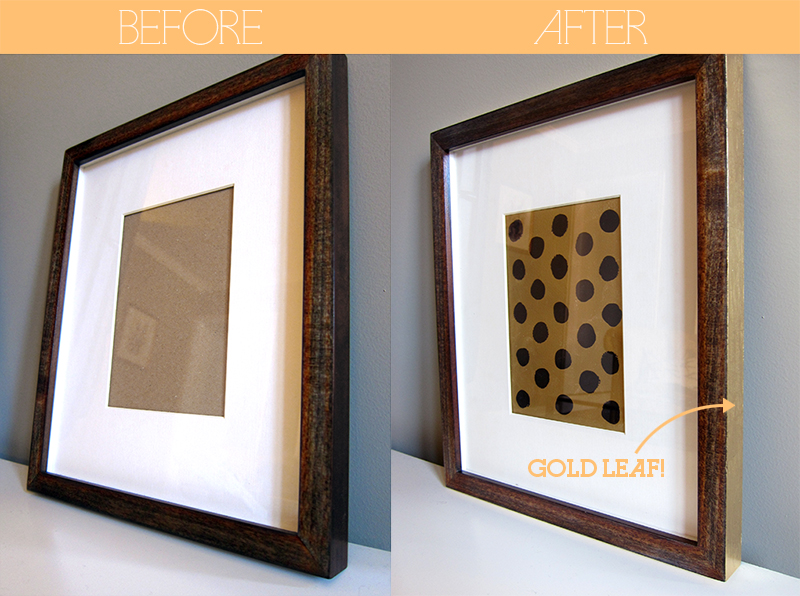
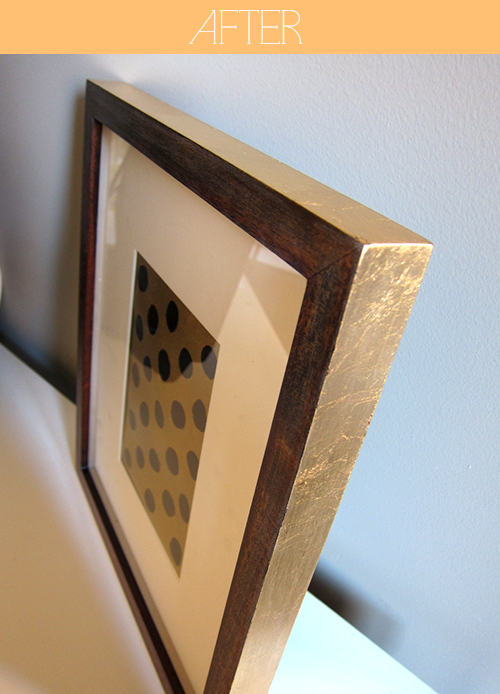
Here’s a really simple way to spruce up a boring old wooden picture frame.  Gold leaf!

A Simple DIY Picture Frame Update - Gold Leafing  - >> joeandcheryl.com <<

A Simple DIY Picture Frame Update - Gold Leafing  - >> joeandcheryl.com <<

This project is really easy.  All you need is a gold leafing kit, an old picture frame, a paint brush, and sand paper.

A Simple DIY Picture Frame Update - Gold Leafing  - >> joeandcheryl.com <<

The first step is to lightly sand down the surface that you want gold leafed.  Minimal effort here, you really don’t need to do that much sanding. Make sure to wipe off all of the dust with a damp cloth when you are done.

A Simple DIY Picture Frame Update - Gold Leafing  - >> joeandcheryl.com <<

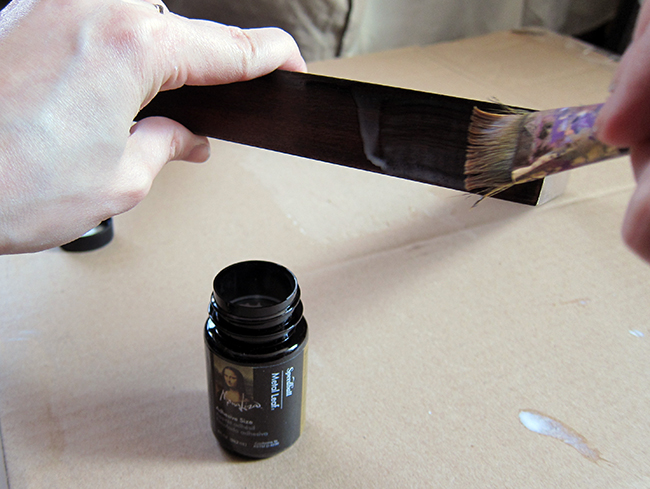
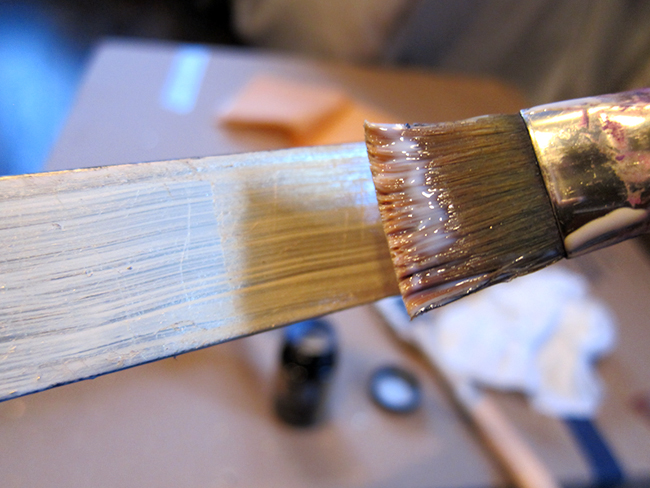
Next, using a foam brush or an old brush you don’t care about, thinly paint on a layer of the adhesive that came with your kit.

A Simple DIY Picture Frame Update - Gold Leafing  - >> joeandcheryl.com <<

Allow your adhesive to dry till its tacky to touch.  Now you can start foiling.  This was my first time gold leafing so I tried a few different ways to apply the foil.  The foil is extremely thin and delicate so this was kind of tricky.  I found the easiest thing was to cut a small rectangle, a little wider than the width of the frame, and applying it one small piece at a time.  Different things might work for different people. Mine was still not perfect and I got a lot of folding and wrinkling, but I think it added a nice antiqued look to the finish.  I’m sure I’ll improve with practice.

A Simple DIY Picture Frame Update - Gold Leafing  - >> joeandcheryl.com <<

Anyway, below you can see me applying a piece of gold leaf.

A Simple DIY Picture Frame Update - Gold Leafing  - >> joeandcheryl.com <<

Gently place it on top of the adhesive then rub it in using a soft cloth to flatten out all those wrinkles.

A Simple DIY Picture Frame Update - Gold Leafing  - >> joeandcheryl.com <<

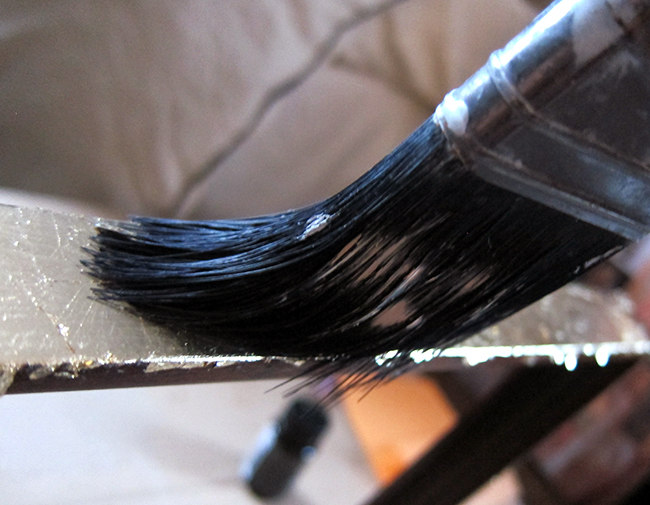
Once you’ve finished doing this everywhere, you’ll notice that there are probably little pieces still sticking up, or random loose ends where more than one layer overlaps.  Simply take a stiff-bristled brush and tap the leafing with a bouncey stippling motion.  All the loose dust will fall off, and this will also push the foil into every nook and cranny.  It will really contour to the surface this way.

A Simple DIY Picture Frame Update - Gold Leafing  - >> joeandcheryl.com <<

A Simple DIY Picture Frame Update - Gold Leafing  - >> joeandcheryl.com <<

Up to this point, gluing and leafing have not been a perfect science.  You’ll probably notice a messy edge where the gold foil is encroaching onto the wooden area that you want to keep clean.

A Simple DIY Picture Frame Update - Gold Leafing  - >> joeandcheryl.com <<

Take a fine sand paper and gently rub off any unwanted gold along the edge.  Try to keep the sanding to a minimum as you don’t want to ruin the wood finish.

A Simple DIY Picture Frame Update - Gold Leafing  - >> joeandcheryl.com <<

The final step is to paint on the sealer that came with your leafing kit.

A Simple DIY Picture Frame Update - Gold Leafing  - >> joeandcheryl.com <<

It will go on milky, but dries clear and glossy.

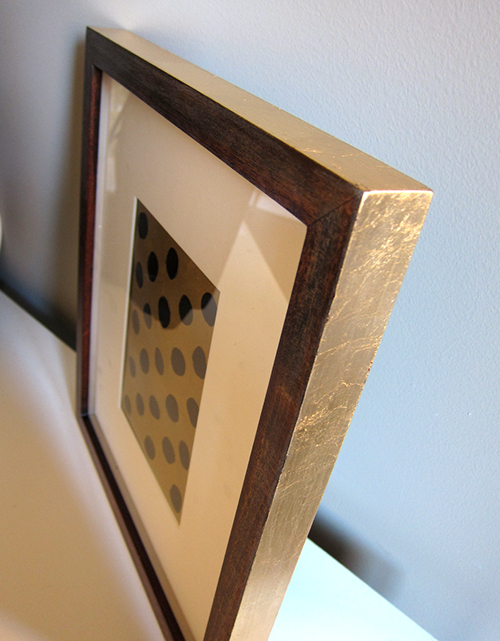
And there you have it! Its very subtle, but its a great way to make a cheap frame look a little more expensive. You can also do this project with a gold leafing pen!  It would be an easier, lazier, faster alternative to using foil.  I ordered a pen, and I think I’m going to try it in the future.  If it looks as good, I might switch over to that for future projects to avoid handling those thin, flimsy sheets of foil. Also, stay tuned. I will be posting another project later this week that also involve small amounts of golf leaf.  =)
A Simple DIY Picture Frame Update - Gold Leafing  - >> joeandcheryl.com <<

A Simple DIY Picture Frame Update - Gold Leafing  - >> joeandcheryl.com <<

A Simple DIY Picture Frame Update - Gold Leafing  - >> joeandcheryl.com <<

A Simple DIY Picture Frame Update - Gold Leafing  - >> joeandcheryl.com <<

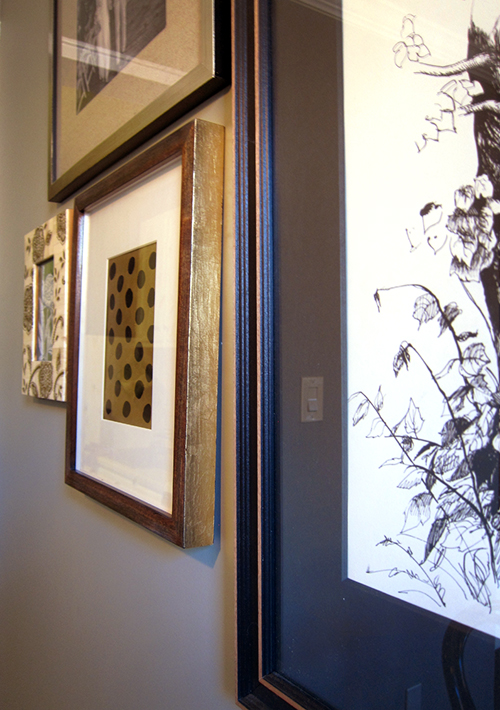
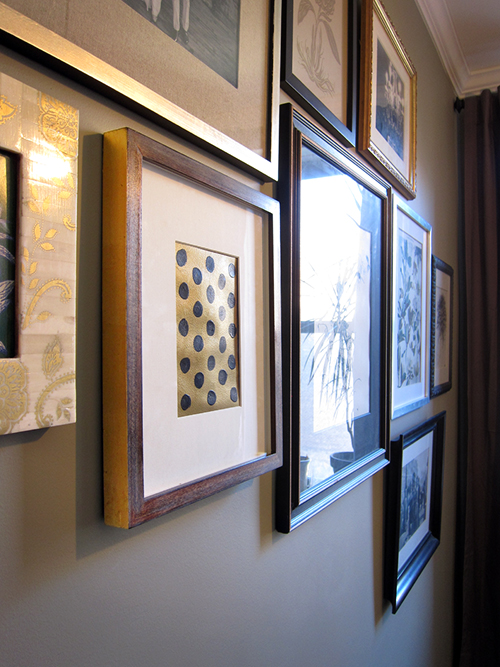
It’s very subtle. I’m thinking it would have worked better on a frame that is alone on a wall. Rather than clustered with other frames so that you can see it more.

A Simple DIY Picture Frame Update - Gold Leafing  - >> joeandcheryl.com <<

A Simple DIY Picture Frame Update - Gold Leafing  - >> joeandcheryl.com <<


Happy DIY Easter!

Happy Good Friday and Happy Easter everyone!  Unfortunately, I haven’t had time to work on any DIY projects this week (I’ve been trying to do at least one post every week).  So instead, check out these great Easter project I found in my blog reading =)

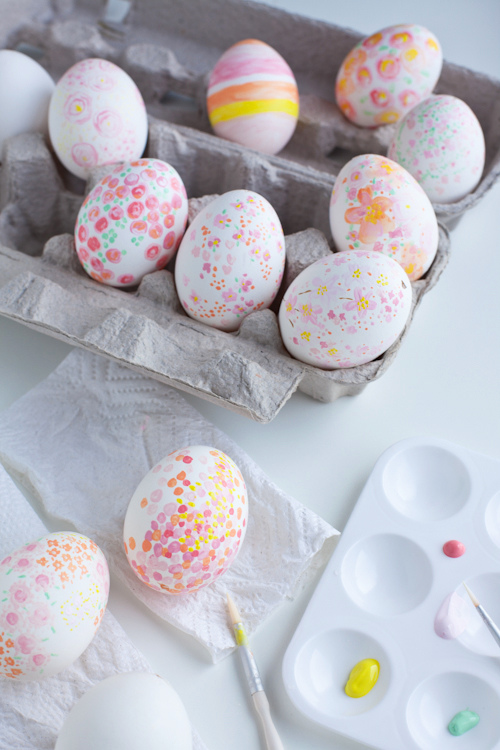
Check out these AMAZING painterly Easter eggs from Decor8!!  All you need is a paint brush and acrylic craft paint.  I’m totally obsessed with floral prints right now, so these are perfect!

Happy DIY Easter!  - >> joeandcheryl.com <<

Photo Credit: http://decor8blog.com


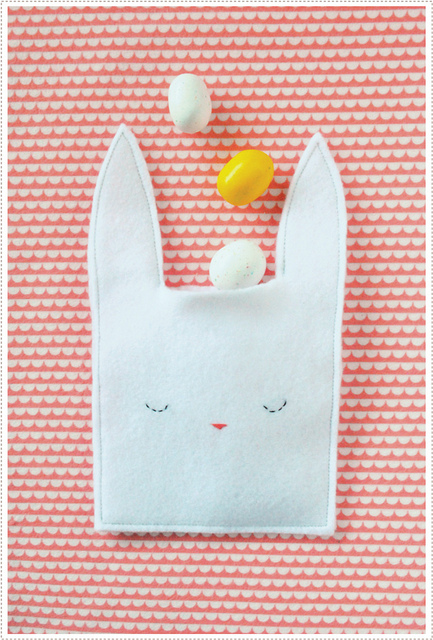
Here’s another great project from Mer Mag! Such a simple yet genius bunny pouch with easy step by step instructions.  Its so simple and cute, that I really wish I thought of it!

Happy DIY Easter!  - >> joeandcheryl.com <<
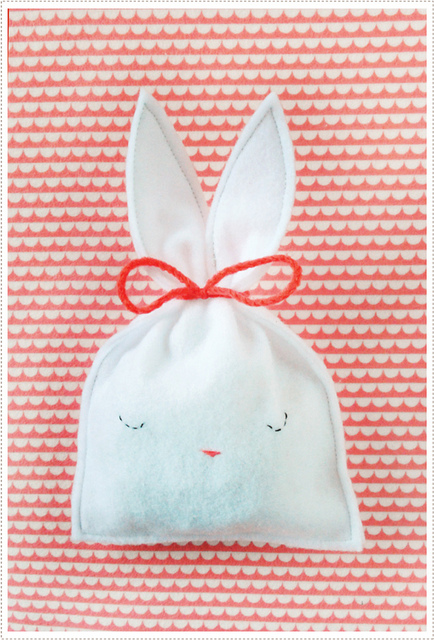
Photo Credit: http://mermag.blogspot.com


Happy DIY Easter!  - >> joeandcheryl.com <<

Photo Credit: http://mermag.blogspot.com