Follow Me on Pinterest follow us in feedly like us on facebook

Email Subscription

Enter your email address:

Delivered by FeedBurner


Tips for Floral Arrangement

As a follow up to the baby shower post, I thought I’d talk a little bit about what I’ve learned over the years about floral arrangement.  I am definitely an amateur when it comes to this, but I do know a few tips that will help your flowers last a little longer…and hopefully look nice too.

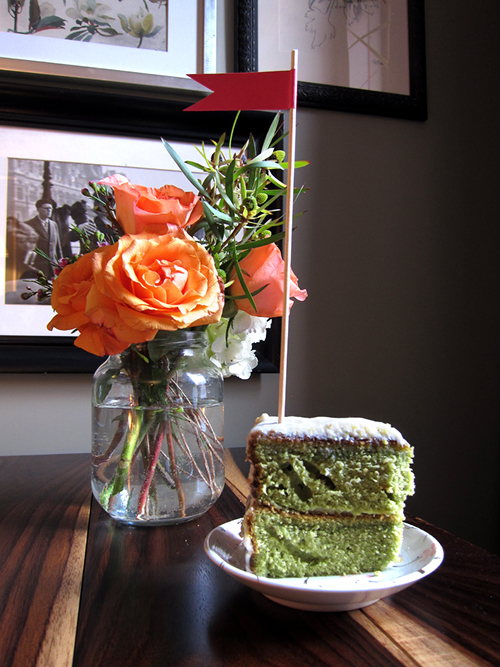
Orange peach roses with green tea cake and flag - Tips for Floral Arrangement - >> joeandcheryl.com <<

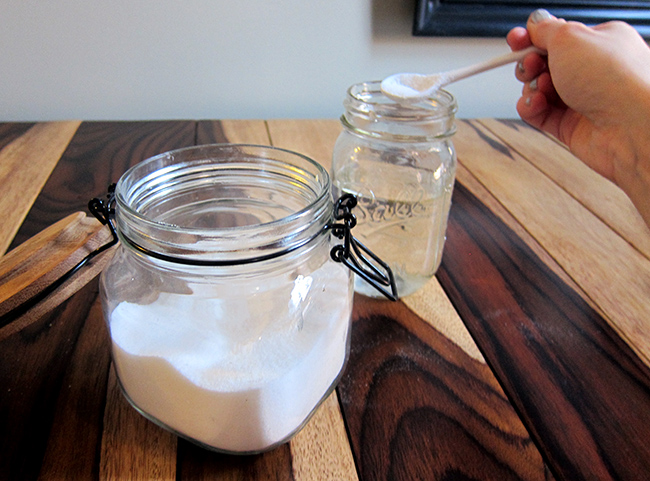
Before you start anything fill your vase (or jar) with water.  Add a teaspoon of sugar to nourish the plants, and one teaspoon of vinegar to kill off the bacteria. The two things that will kill your flowers the fastest are bacteria and air bubbles so this is very important – I’ll get into bubbles more later. Add more sugar and vinegar if you are using a vessel larger than the one I have pictured. I’ve also read that you can use crushed asprin, sprite, pennies, or bleach to help your flowers last longer, but the sugar and vinegar combo has always been my favorite.  You can also buy a powdered plant preservative that works great too!

Tips for Floral Arrangement - >> joeandcheryl.com <<

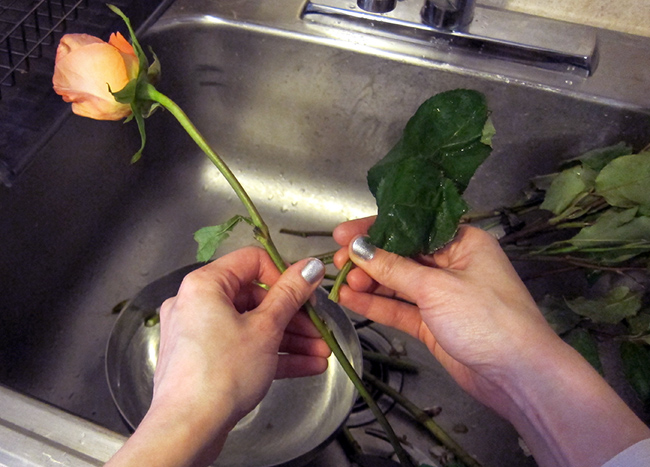
Next remove any leaves that will sit below the water line in your vase.  Leaves submerged under water tend to rot – adding to the bacteria problem.

Tips for Floral Arrangement - >> joeandcheryl.com <<

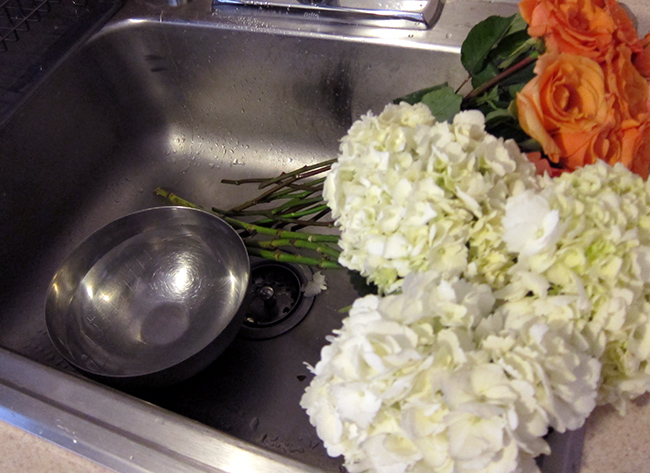
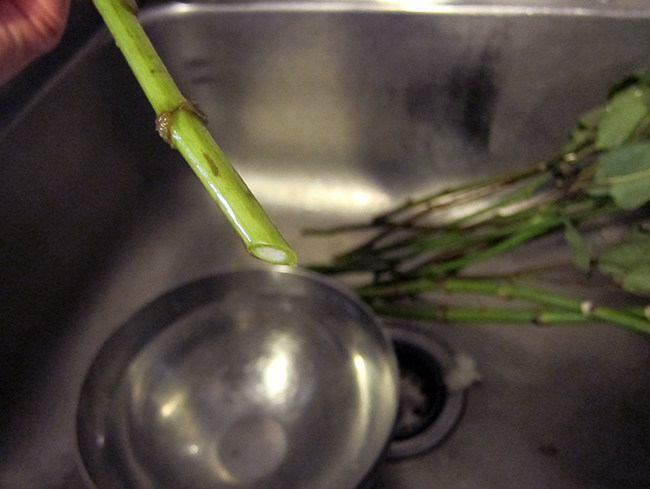
Now you’ll need to cut the stems. Always cut your stems while fully submerged in water, so keep a large bowl of water handy.  A common misconception is that you cut them under running water.  Not true.  You want the area to be cut fully submerged in water to prevent the flowers from sucking up air bubbles which disrupts its ability to take up more water.  Another very important thing to remember while cutting your stems is to use a SHARP, sterilized, non-serrated knife.  Think of it like surgery on a living thing.  You don’t want to infect it with bacteria by using a dirty blade, and you don’t want to crush the stems by using scissors (this will also prevent it from being able to suck up enough water).

Tips for Floral Arrangement - >> joeandcheryl.com <<

When you do cut your stems, always cut them at an angle.  This creates extra surface area allowing it to take in more water.

Tips for Floral Arrangement - >> joeandcheryl.com <<

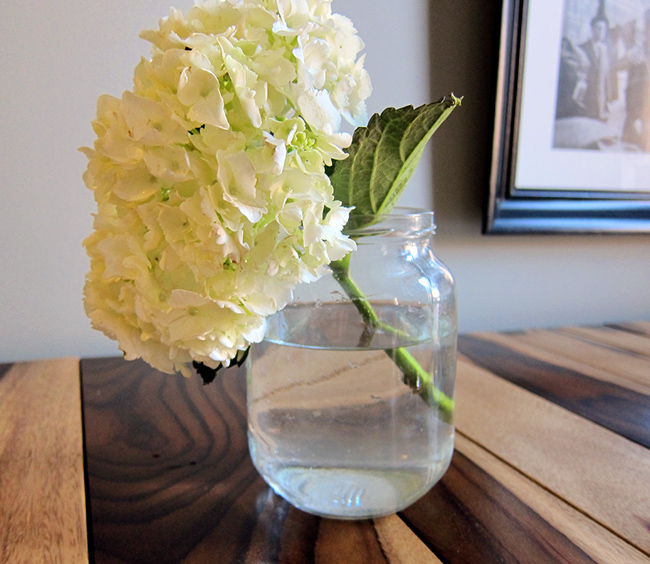
After cutting, immediately place the flower into water.  For this particular flower arrangement, I started with a single stem of white hydrangeas.

Tips for Floral Arrangement - >> joeandcheryl.com <<

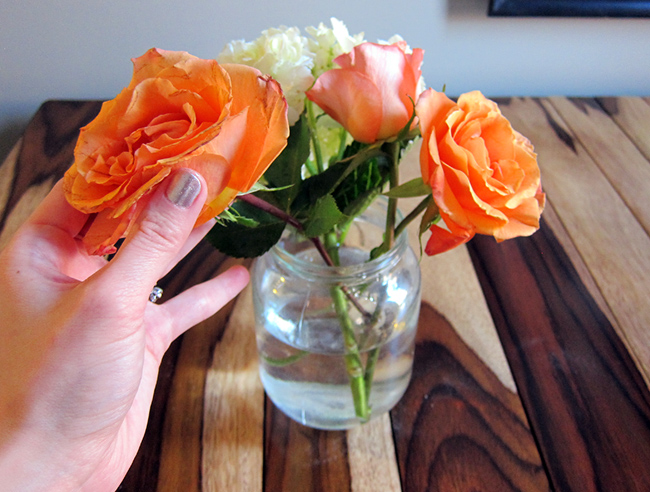
Next I added in a few orange and peach roses in varying heights.  You’ll want to add each flower one at a time.  Also criss cross the stems as you go.  It kind of creates a lattice that will keep the flowers positioned where you want them.

Tips for Floral Arrangement - >> joeandcheryl.com <<

Tips for Floral Arrangement - >> joeandcheryl.com <<

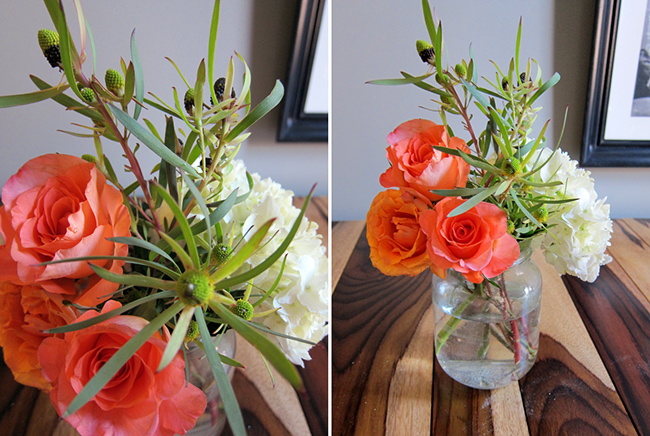
After the roses I added in these funny, weed-looking things that I found.  I have no idea what they are, but I think they give the bouquet a nice “picked-from-the-field” look.

Tips for Floral Arrangement - >> joeandcheryl.com <<

And finally I threw in some purple wax flowers for a little extra color and texture.  In terms of what order I choose to add things… I guess I like to go from big to small, adding filler flowers last. Once you are done with your arrangement, remember to replace the water and re-trim the stems every few days.  It will help them to last a lot longer too.

Tips for Floral Arrangement - >> joeandcheryl.com <<

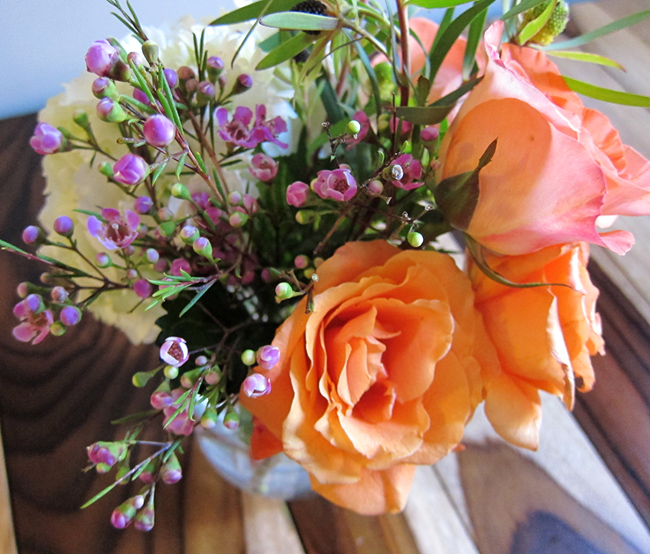
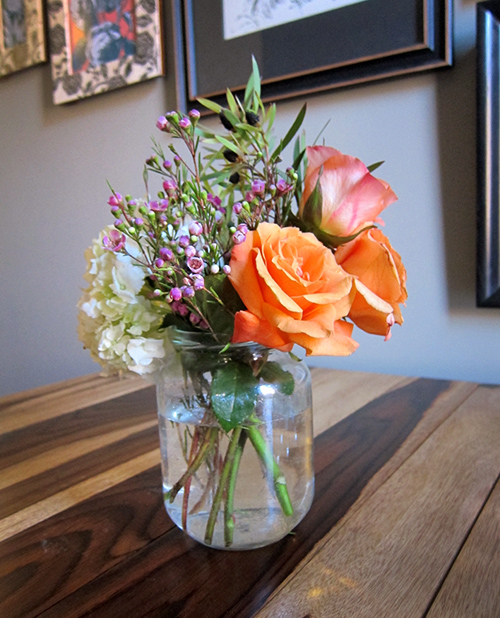
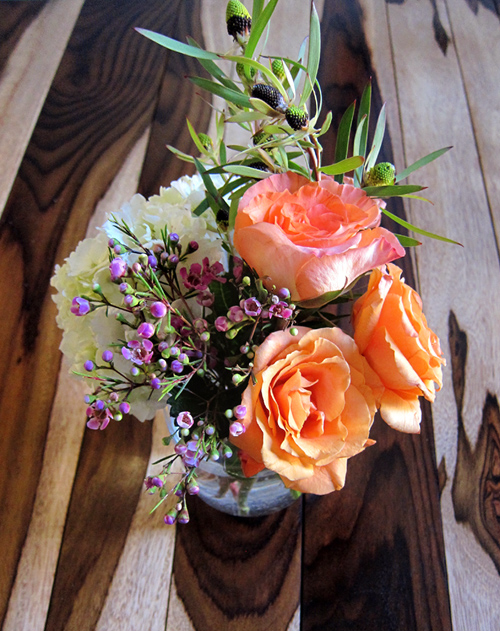
So here’s the final arrangement! I made three of these for the shower.

Rose hydrangea and wax flower arrangement - Tips for Floral Arrangement - >> joeandcheryl.com <<

Rose hydrangea and wax flower arrangement - Tips for Floral Arrangement - >> joeandcheryl.com <<

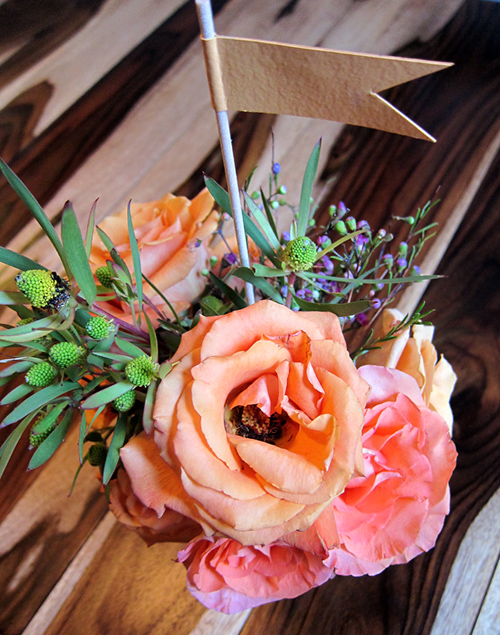
Several days after the baby shower, the hydrangeas started to wilt, so I threw them out and consolidated the more hearty roses into a single vase.  I also topped it off with one of the flags left over from decorating the cake.  I’ve been enjoying these flowers all week.  I love them!  They really brighten up the space. =)

from the field orange peach rose flower arrangement with flag - Tips for Floral Arrangement - >> joeandcheryl.com <<

from the field orange peach rose flower arrangement with flag - Tips for Floral Arrangement - >> joeandcheryl.com <<

from the field orange peach rose flower arrangement - Tips for Floral Arrangement - >> joeandcheryl.com <<


Another Baby Shower for Two Mothers To Be

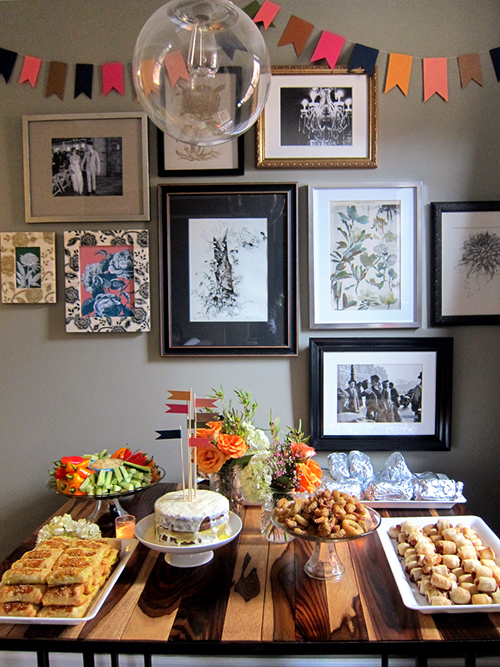
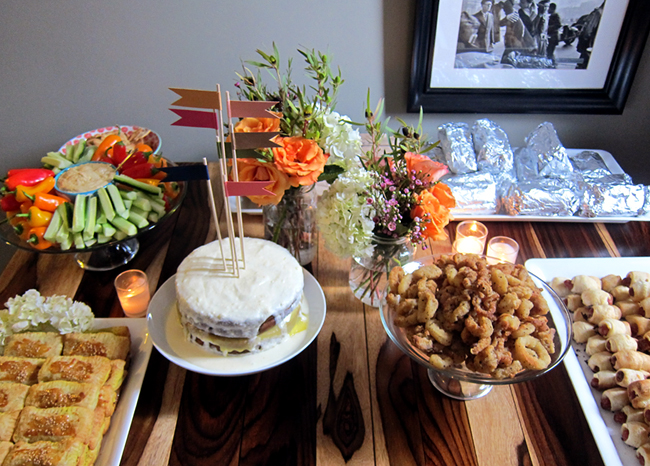
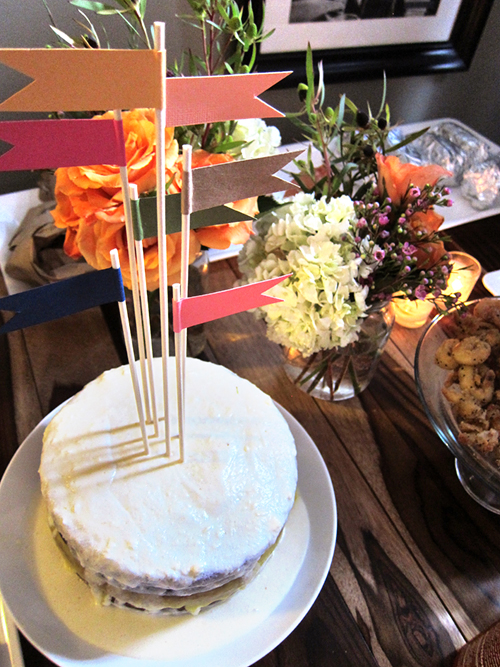
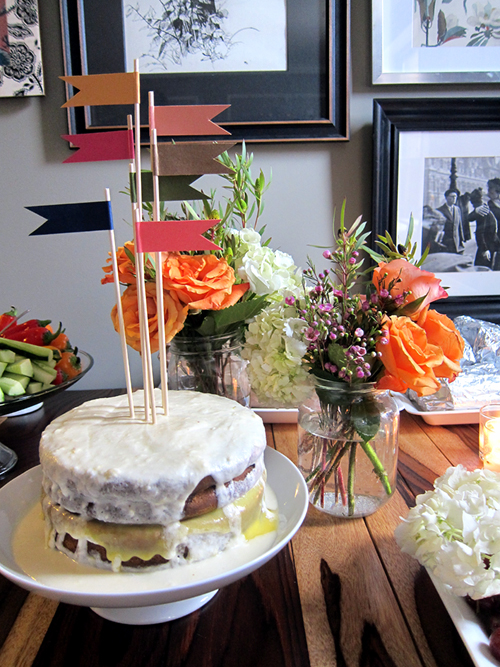
Is it just me or is everyone having babies these days? Myself and most of my close friends are in their late 20’s and early 30’s. And many of those freinds are married and ready to take that next step in life… into the world of parenthood. It just seems like they have all become ready at around the same time. Two couples, who are my very closest friends from college, are both expecting their first children right now (the mamas-to-be were both my bridesmaids!) They are expecting one boy and one girl. So Talida and I decided to team up once again to throw them a joint baby shower.  I hosted and put together some simple, minimal decorations; while Talida took care of food and baked a beautiful matcha cake with a drippy lemon curd frosting. Delish!!  For color scheme, I wanted to choose one that would work for both a boy and a girl – since that is what they are having.  Instead of using yellow, which tends to be the default gender neutral color choice, I decided to mix a very boyish navy and green with more girly pink and peach.  Check out some pics from the party below!
fork flag theme baby shower party spread decorations - Another Baby Shower for Two Mothers To Be - >> joeandcheryl.com <<

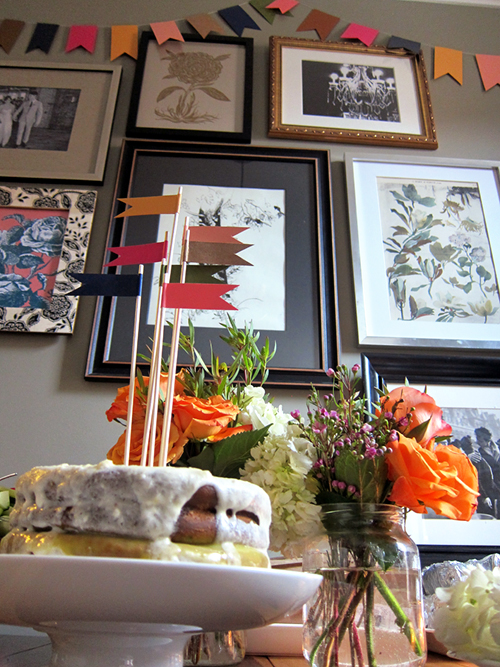
fork flag theme baby shower party cake decorations - Another Baby Shower for Two Mothers To Be - >> joeandcheryl.com <<

Another Baby Shower for Two Mothers To Be - >> joeandcheryl.com <<

fork flag theme baby shower party spread decorations - Another Baby Shower for Two Mothers To Be - >> joeandcheryl.com <<

fork flag theme baby shower party cake decorations - Another Baby Shower for Two Mothers To Be - >> joeandcheryl.com <<

fork flag theme baby shower party cake decorations - Another Baby Shower for Two Mothers To Be - >> joeandcheryl.com <<

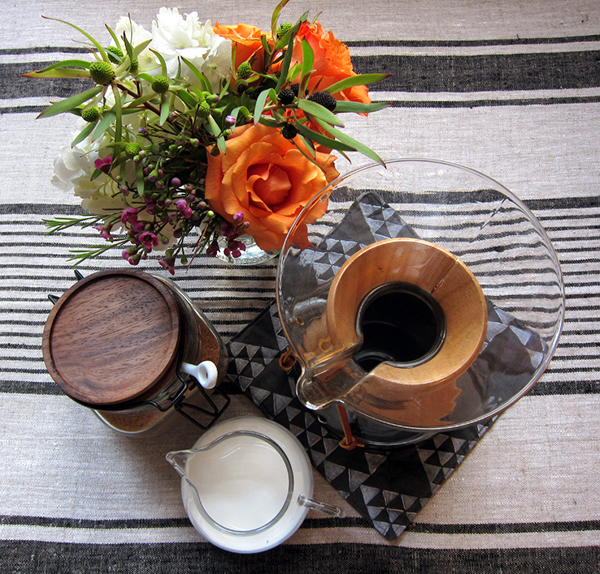
flowers and coffee - Another Baby Shower for Two Mothers To Be - >> joeandcheryl.com <<

We also set up a second table for beverages and coffee.

flowers and coffee - Another Baby Shower for Two Mothers To Be - >> joeandcheryl.com <<

What looks like a carafe is actually Talida’s coffee maker by Chemex – http://www.chemexcoffeemaker.com/

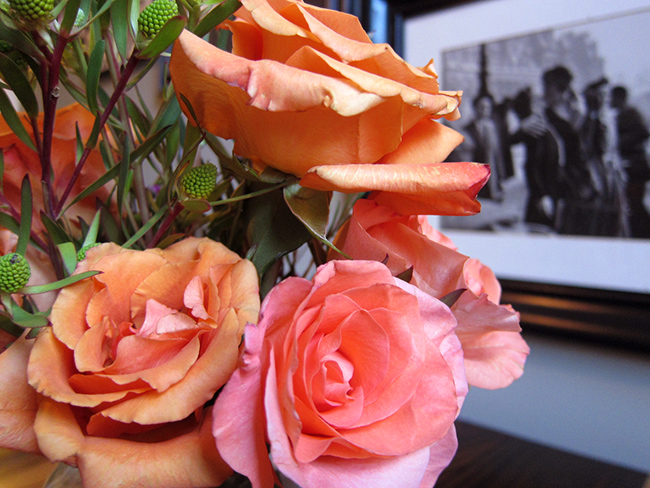
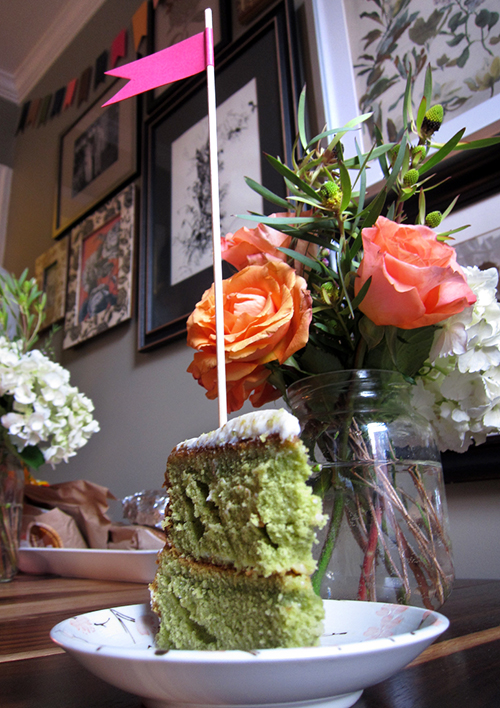
orange peach roses and green tea cake with flag - Another Baby Shower for Two Mothers To Be - >> joeandcheryl.com <<

orange peach roses and green tea cake with flag - Another Baby Shower for Two Mothers To Be - >> joeandcheryl.com <<

Pictured above is a single slice of Talida’s delicious lemon curd matcha cake.  Visit her site for this and many other recipes!

Winter Coat Progress Part 4 – Finished!

Other posts in this series: Part 1, Part 2, Part 3

Finally!  After devoting every free Saturday for two months, I’ve finally finished my winter coat! Yesterday was my first day wearing it out and in NYC, it was an appropriately cold day for its maiden voyage.

Winter Coat Progress Part 4 - Finished! - >> joeandcheryl.com <<

I have more finished shots at the end of the post, but first, here’s the rest of my process pics.

This is where I left off since my last post. The next thing I did was sew on the zipper and attach the sleeves of the shell.

Winter Coat Progress Part 4 - Finished! - >> joeandcheryl.com <<

Here’s the zipper sewn in, but not finished – still no front storm flap

Winter Coat Progress Part 4 - Finished! - >> joeandcheryl.com <<

disembodied sleeves

Winter Coat Progress Part 4 - Finished! - >> joeandcheryl.com <<

Yay! sleeve attached!

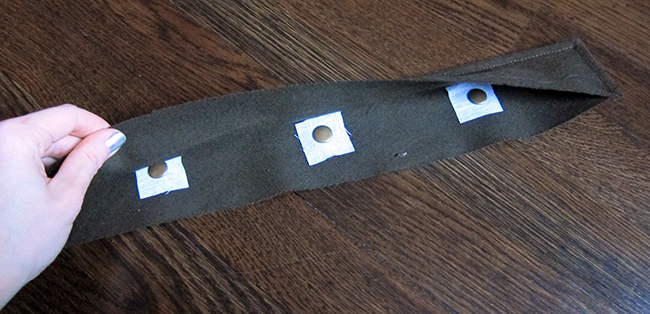
Next I needed to make a storm flap for the front zipper. I added female snaps the same way I did for the detachable trim for the hood.  My one big regret with this project is not fusing interfacing into the storm flap.  I feel like the finish flap doesn’t lay flat enough, but I didn’t realize it until its too late.

Winter Coat Progress Part 4 - Finished! - >> joeandcheryl.com <<

Winter Coat Progress Part 4 - Finished! - >> joeandcheryl.com <<

Winter Coat Progress Part 4 - Finished! - >> joeandcheryl.com <<

Then I sewed the storm flap into the the coat where the zipper is.

Winter Coat Progress Part 4 - Finished! - >> joeandcheryl.com <<

Winter Coat Progress Part 4 - Finished! - >> joeandcheryl.com <<

The male snaps will be added later

In the picture below, you can see that the edge where the shell is sewn into the lining needs some serious pressing and top stitching.  See how it kind of folds and curls into itself?

Winter Coat Progress Part 4 - Finished! - >> joeandcheryl.com <<

Now here is what it looks like after being pressed and top stitched.  Much cleaner and more finished looking!

Winter Coat Progress Part 4 - Finished! - >> joeandcheryl.com <<

And THEN I added male snaps to the placket corresponding with the female snaps on the storm flap.

Winter Coat Progress Part 4 - Finished! - >> joeandcheryl.com <<

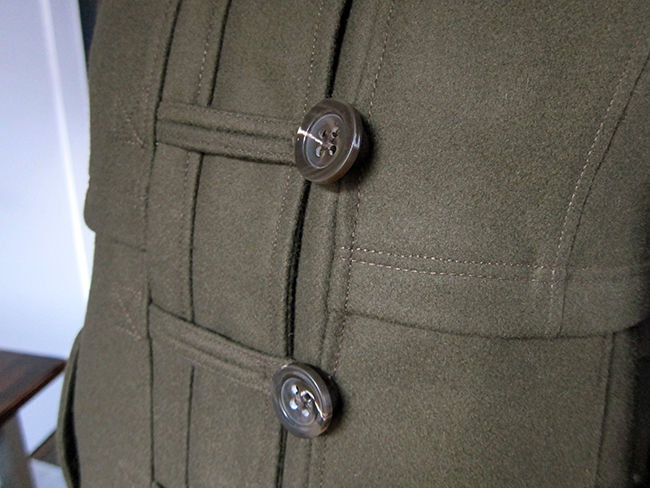
At this point I had to do a ton of hand stitched tedious stuff.  First I tacked the toggle straps down to the storm flap.  Then I sewed on each button by hand.

Winter Coat Progress Part 4 - Finished! - >> joeandcheryl.com <<

And finally I hand stitched the lining into the hem – and the sleeve lining into the cuff of the sleeve.

Winter Coat Progress Part 4 - Finished! - >> joeandcheryl.com <<

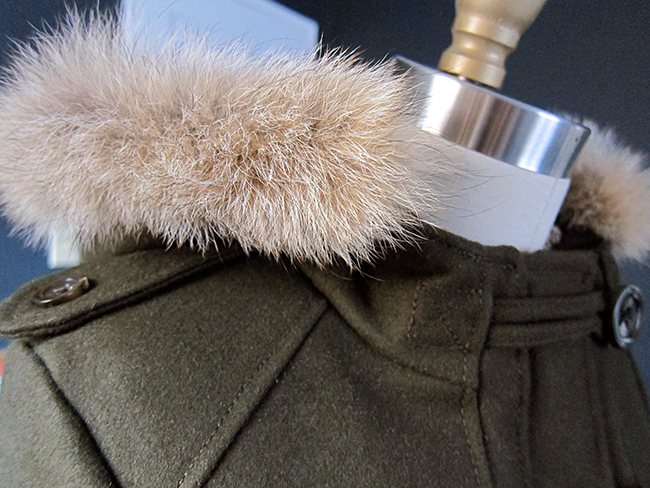
Then after a little pressing, it was all done!  Here’s the finished coat!

Winter Coat Progress Part 4 - Finished! - >> joeandcheryl.com <<

Winter Coat Progress Part 4 - Finished! - >> joeandcheryl.com <<

Winter Coat Progress Part 4 - Finished! - >> joeandcheryl.com <<

Winter Coat Progress Part 4 - Finished! - >> joeandcheryl.com <<

Winter Coat Progress Part 4 - Finished! - >> joeandcheryl.com <<

Winter Coat Progress Part 4 - Finished! - >> joeandcheryl.com <<

Winter Coat Progress Part 4 - Finished! - >> joeandcheryl.com <<