Other posts in this series: Part 1, Part 2, Part 3
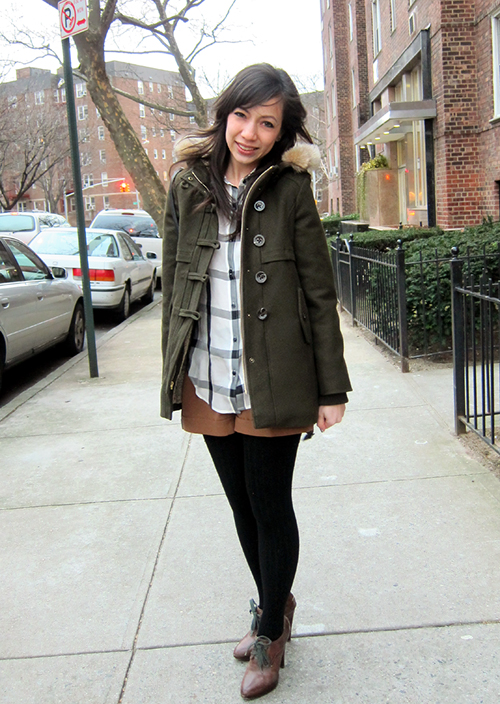
Finally! After devoting every free Saturday for two months, I’ve finally finished my winter coat! Yesterday was my first day wearing it out and in NYC, it was an appropriately cold day for its maiden voyage.
I have more finished shots at the end of the post, but first, here’s the rest of my process pics.
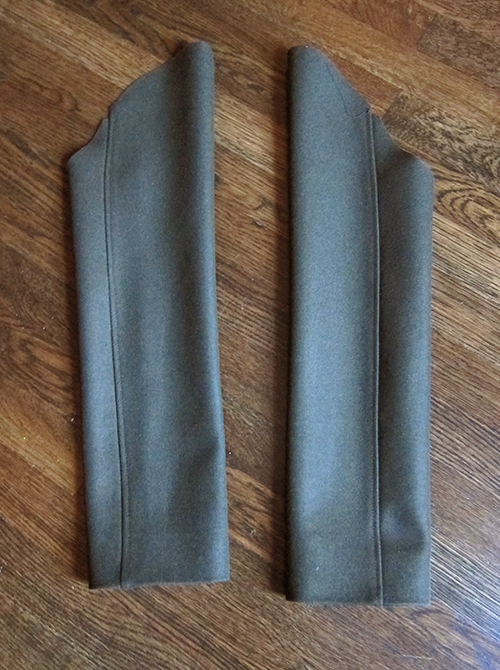
This is where I left off since my last post. The next thing I did was sew on the zipper and attach the sleeves of the shell.
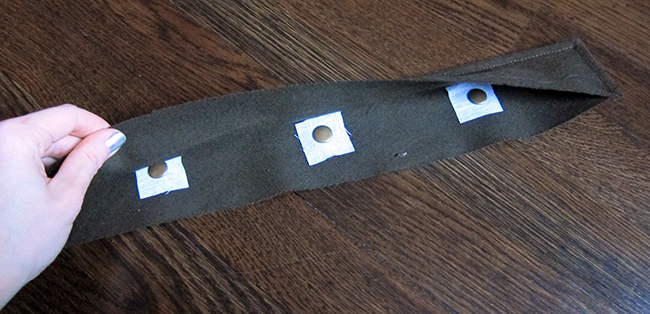
Next I needed to make a storm flap for the front zipper. I added female snaps the same way I did for the detachable trim for the hood. My one big regret with this project is not fusing interfacing into the storm flap. I feel like the finish flap doesn’t lay flat enough, but I didn’t realize it until its too late.
Then I sewed the storm flap into the the coat where the zipper is.
In the picture below, you can see that the edge where the shell is sewn into the lining needs some serious pressing and top stitching. See how it kind of folds and curls into itself?
Now here is what it looks like after being pressed and top stitched. Much cleaner and more finished looking!
And THEN I added male snaps to the placket corresponding with the female snaps on the storm flap.
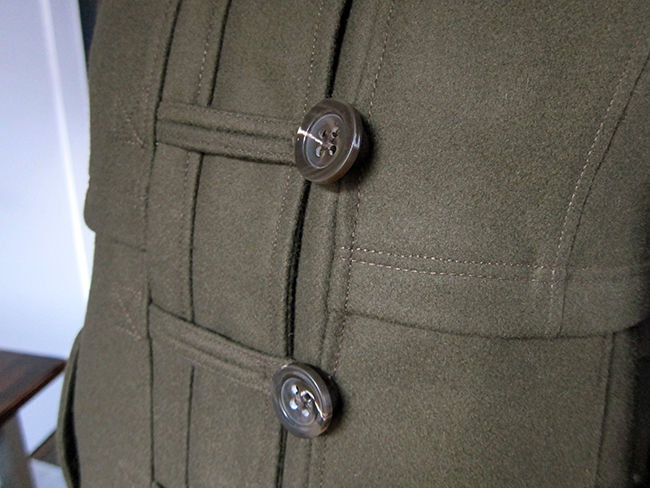
At this point I had to do a ton of hand stitched tedious stuff. First I tacked the toggle straps down to the storm flap. Then I sewed on each button by hand.
And finally I hand stitched the lining into the hem – and the sleeve lining into the cuff of the sleeve.
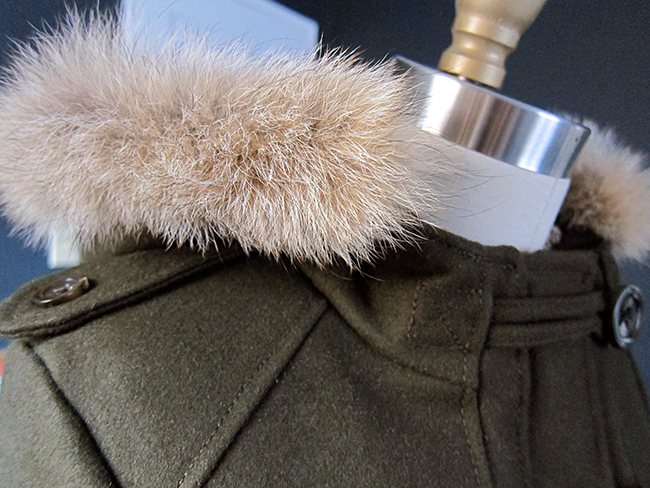
Then after a little pressing, it was all done! Here’s the finished coat!











Great job Cheryl! I can even say it looks and feels great in person 🙂 Too bad (for us) it’s a one of a kind..
i want it!! 😀
the finished coat looks beautiful cheryl!! i love it!! =D u look especially cute with the hood up!
haha weirdly enough i was wondering yesterday if you’d finished your jacket yet. Lo n’ behold, today I got my answer. Congrats n’ lookin’ good, babe 🙂
what talida said!! amazing journey resulting in a gorgeous end! CONGRATS on this and your etsy grand opening
look great cheryl!
I looooove your coat!! Fabulous. I am so jealous of your DIY talent. Wish I had the same skills!