I’m pleased to announce the opening of my new Etsy shop, Cherbert! Over the past couple of weeks I’ve been getting a lot of requests to buy my V color studies. I found a local printer who can print on watercolor paper and actually already sold and shipped a couple of copies of the print! The shop will be starting out small, especially since I’m still working a full time job, but hopefully it will grow over time. Thanks again to everyone for all your encouragement and support!
|
|
|||
|
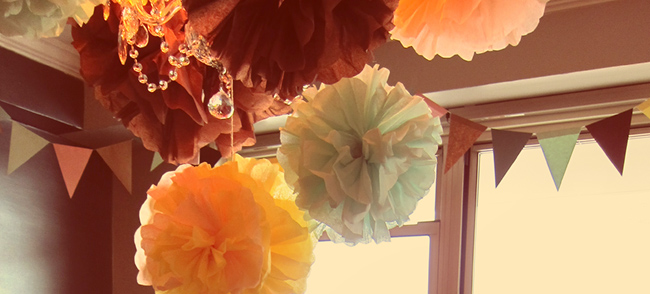
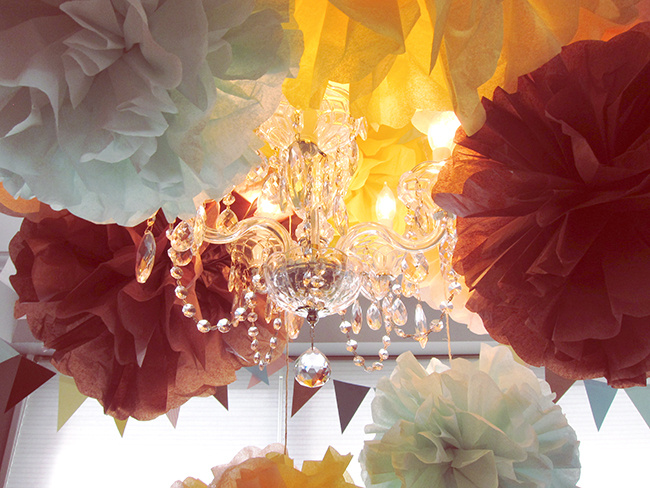
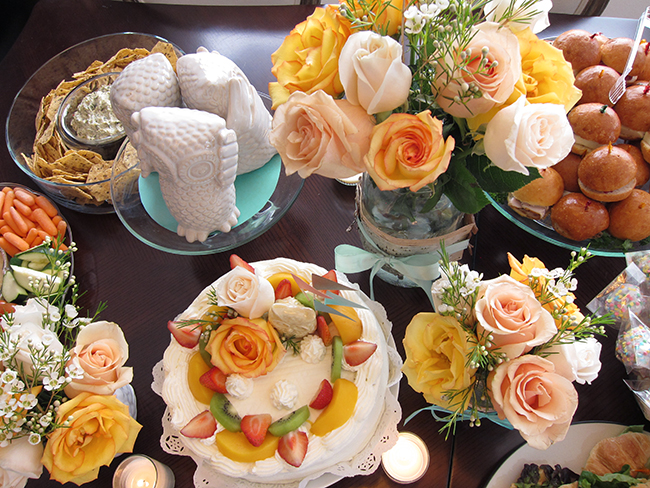
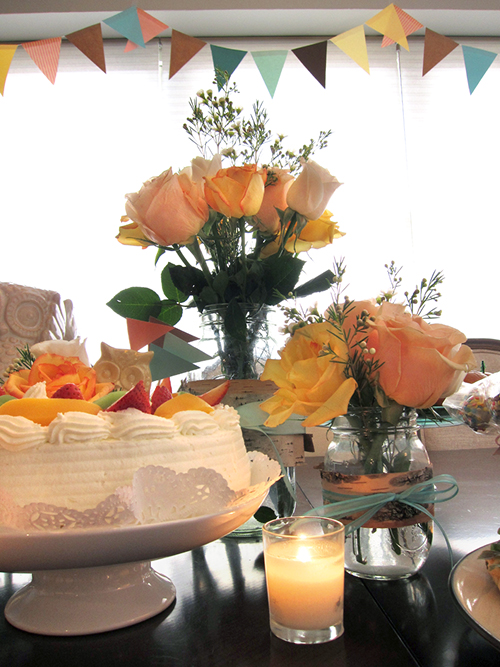
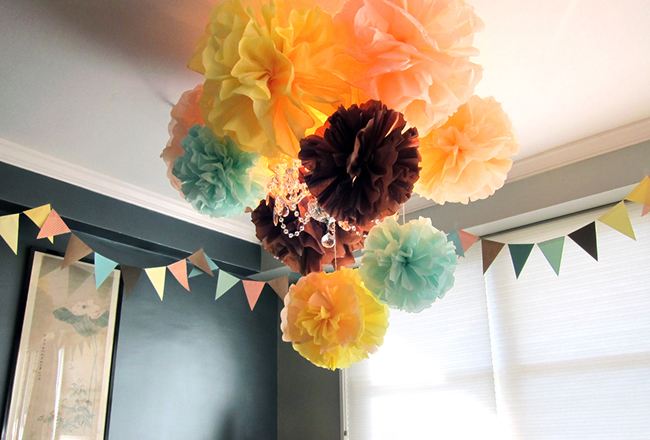
These past two weekends I have had the pleasure of decorating the baby shower of my dear friend Judy. Her new nursery is going to be owl themed, so that became the theme for the shower as well. Judy specifically requested seafoam and yellow for colors, and I threw in the earth tones to reference the owls and nature. We kind of decided to add in the peach collectively. Anyway, enjoy the pictures below. I think they speak for themselves =)  We used nests as part of the decor. It was the perfect way to unite the owl theme with the idea of being pregnant.
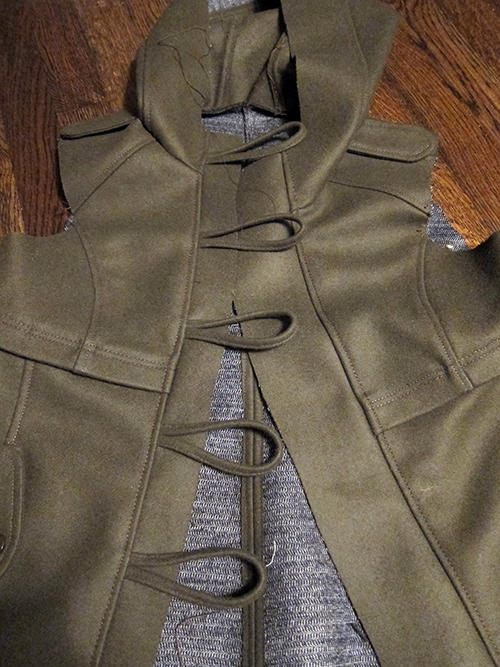
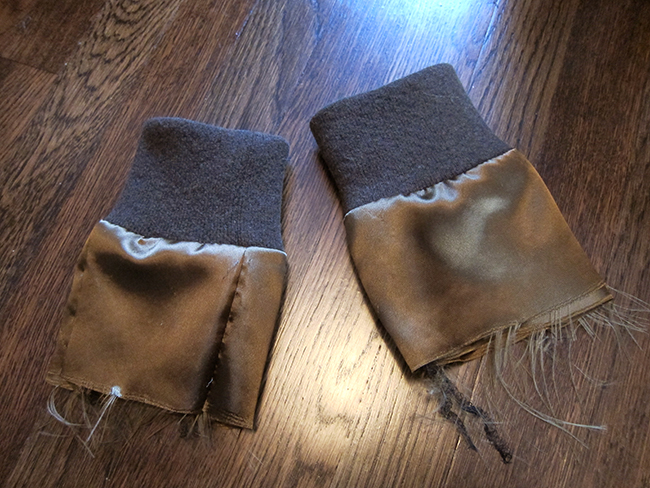
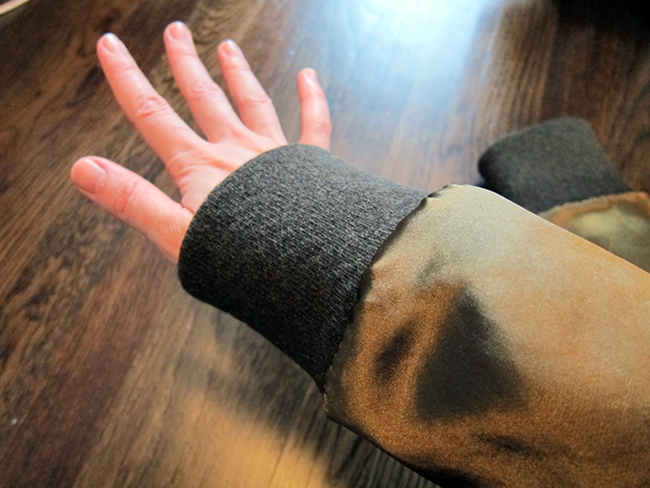
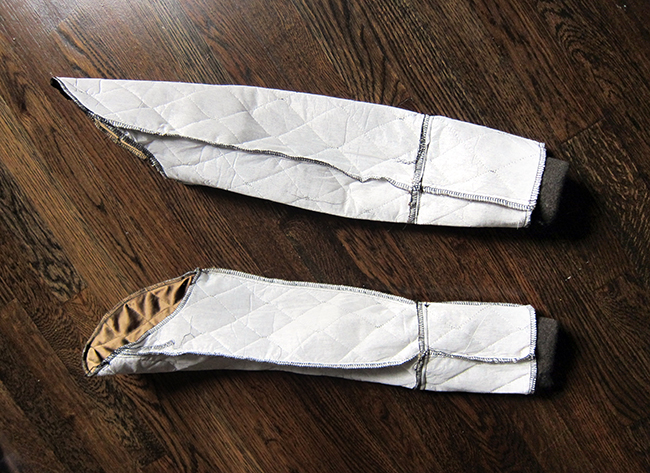
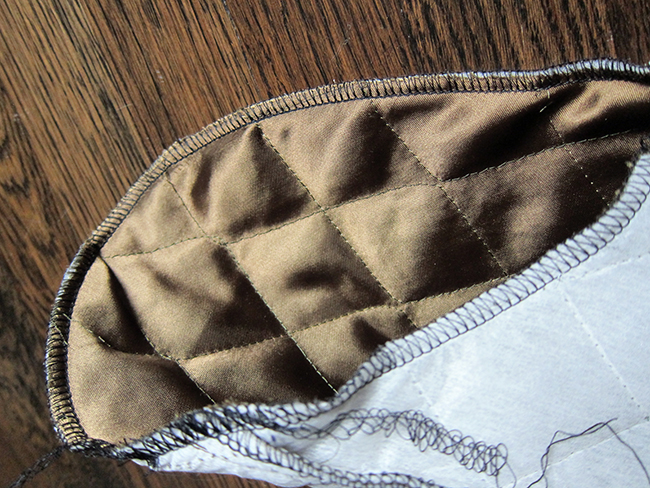
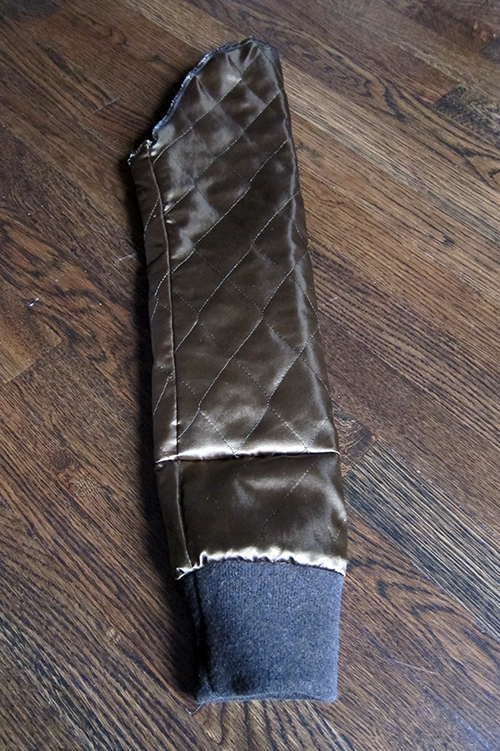
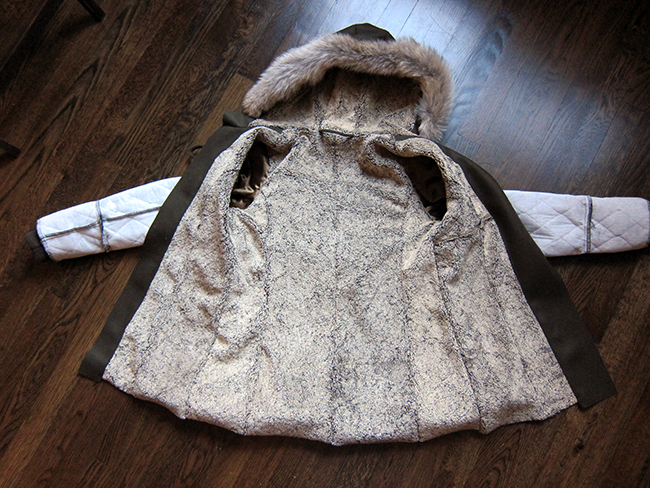
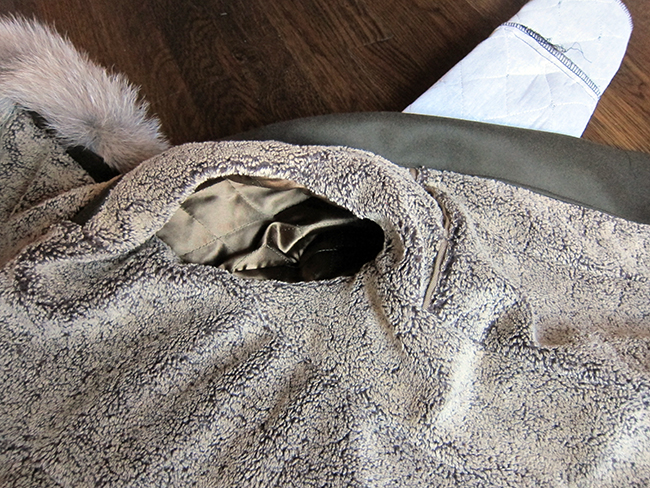
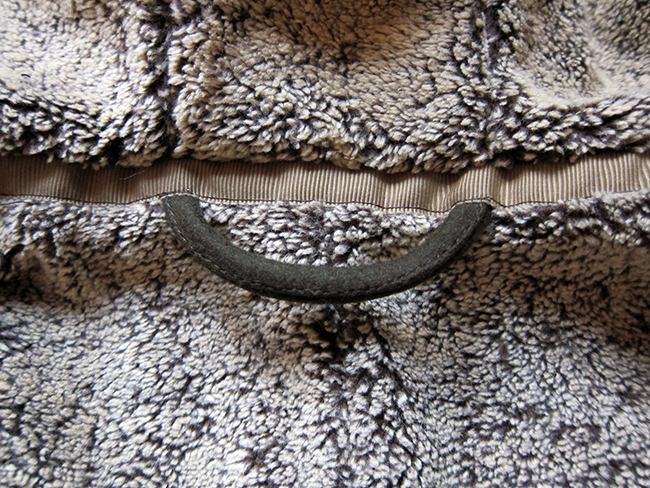
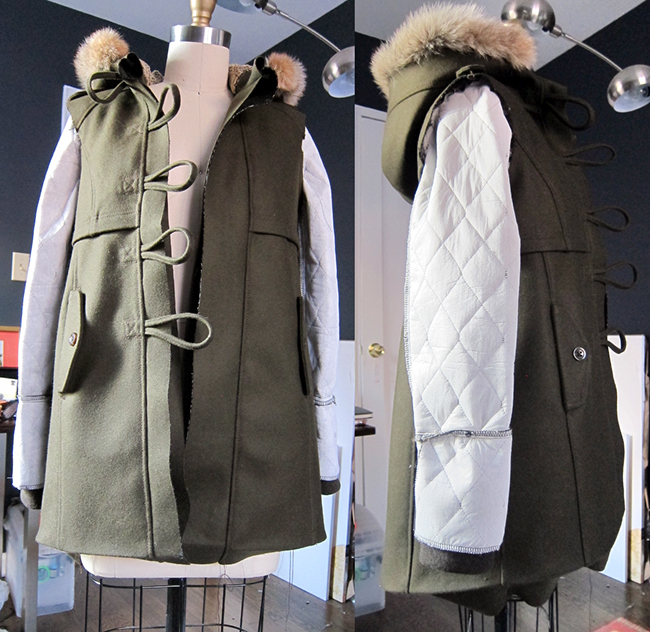
Other posts in this series: Part 1, Part 2, Part 4 I’ve made a little more progress on the coat. I still haven’t gotten to the zipper like I said I wanted to, though. I realized that the zipper is going to have to be one of the last things I do to get all of the seams to line up the right way. So I did almost everything else. Here you can see that I’ve added the toggle straps and part of the pieces for the front placket. After this I decided to finished the lining. I wanted to create a knit cuff that would attach to the sleeve lining for extra warmth and wind blocking under the regular sleeve shell. I was lucky enough to find a double knit wool that matches the shell fabric perfectly! Here are the cuffs attached to the rest of the sleeve lining. I decided to use a quilted poly satin for the lining fabric. It will provide warmth, but will also be smooth enough for me to easily slip my arm through. Next I attached the sleeves to the body lining which I had sewn together previously. Looks so cozy! I still have not added the sleeves to the shell, but I went ahead and sewed the hood lining into the hood of the shell. Its going to be a bit more bulky and annoying when I get to sewing on the shell sleeves, but whatever, couldn’t help myself. Next up: Sewing the sleeves of the shell, adding snaps to the front flap, sewing in the zipper, sewing the last bits of decorative top stitching, sewing on the buttons, and finally finishing the hem. I’m hoping if I devote one more full Saturday to this, I’ll be able to finish it completely. Unfortunately, fashion week is coming up and I’ll be working this entire coming weekend, so please be patient! EDIT: I just realized that this is my 100th post! Woo hoo! |
|||
|
Copyright © 2026 Joe & Cheryl - All Rights Reserved Powered by WordPress & Atahualpa |
|||
