Recently a friend of mine asked me for some framing advice. I thought this would be the perfect topic for the blog since I’m always mounting and framing my art and photos for my walls. Archival mounting is important because it will preserve your treasured art and photography for as long as possible (aside from hiding it in the dark forever). Acidic papers can cause yellowing and embrittling. The wrong tape can cause major damage, and there are many things people unwittingly do that will ruin your art in a very short period of time. Keep in mind that the process I’m sharing is what I learned in my intaglio class in college. I’m sure there are other methods, and other more cautious ways of handling things. For example, some people will advise you not to frame the original at all, but to only frame a copy and keep the original stored away in an archival envelope. But it makes me sad to think the original will never be seen. There are also high tech things like ultraviolet shields that I won’t go into.
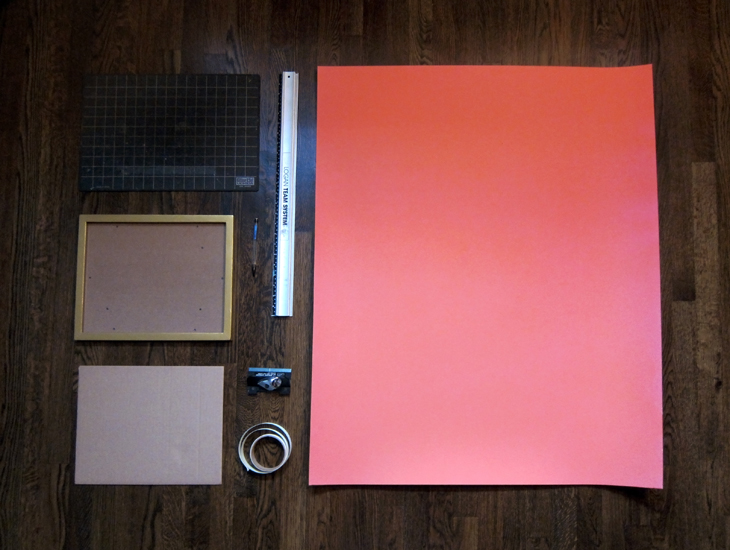
So here’s what you’ll need:
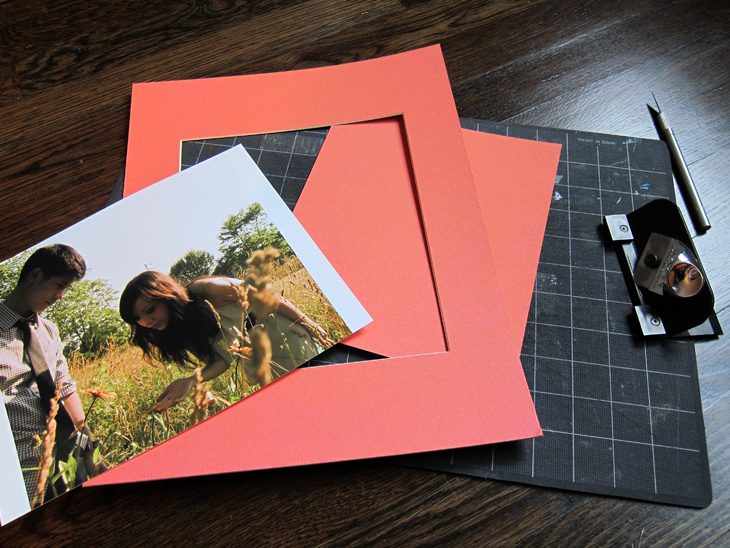
– A cutting board
– a picture frame with an opening that is at least two inches larger than your photo/art on the length and width
– museum board or archival-quality corrugated board as a backing
– a pencil
– a mat beveling kit with a nice sharp blade
– archival linen tape
– museum board/acid free archival mat board
– an exacto knife
– and, of course, your artwork or photograph
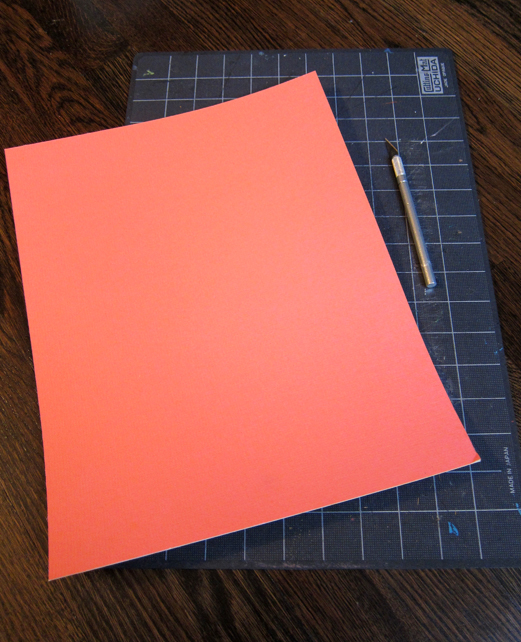
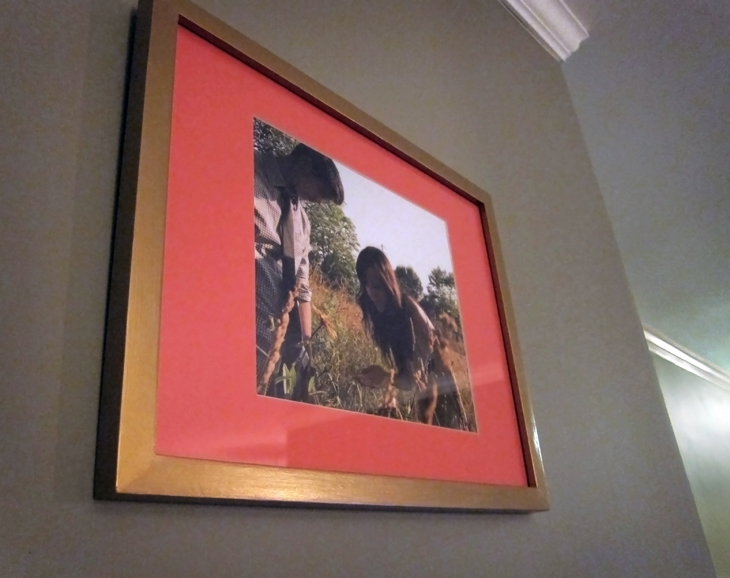
you can see that I chose a colored mat board. You should be careful if you choose to go with a colorful mat. If the mat is dyed through the core, you should use a white buffer board between the image and the mat to prevent pigment transfer. My mat has a white core and back, so I’m not too worried about staining. Also, many people do not realize that matting art/photography is not purely decorative, but serves a very important purpose. Mats sit between the art to prevent them from touching one another. Humid environments and natural moisture in the air can sometimes condense behind the glass. The separation between glass and art is necessary to prevent moisture damage. It also prevents photo emulsion from sticking to the glass.
Anyway, The first step is to use a ruler and exacto blade to cut your mat and backing to the size of your picture frame.
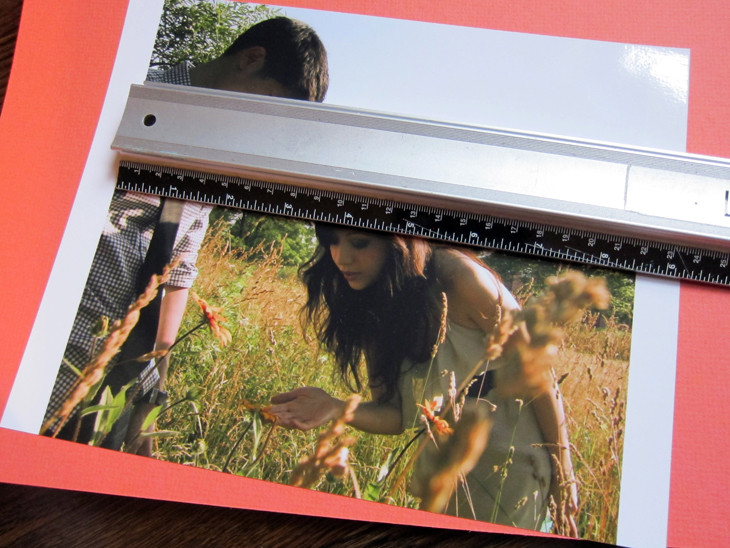
Next measure your image and draw out the dimensions, centered on the back of your mat board.
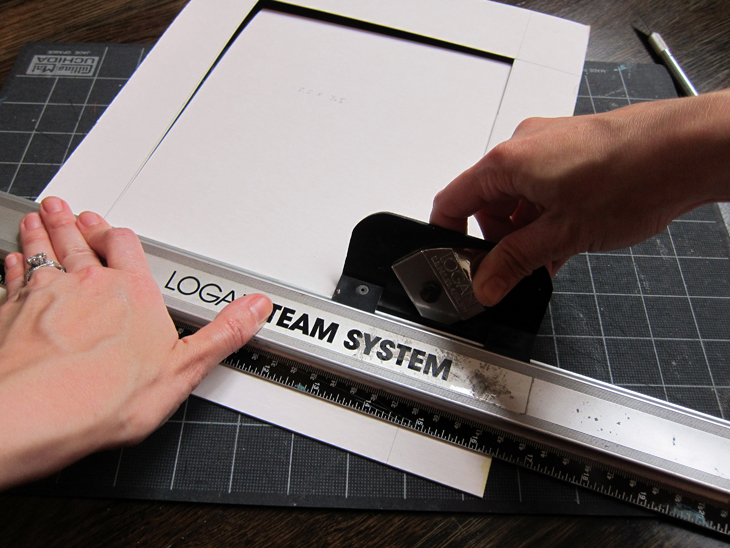
I’ve had my mat cutting kit since I was in middle school. So who knows, maybe there are better sets out there, but I’m used to my trusty LOGAN system. Basically, there’s an aluminum ruler with a track for an angled bevel blade. It’s pretty simple – once you’ve drawn your guide lines, line up the ruler and just slide the bevel blade across. There’s a little notch on the blade that guides where you start or end your cut. Of course, if you have a different kit, the instructions might be a little different. My biggest piece of advice is to make sure to put ample pressure on the ruler to prevent it from sliding mid cut.
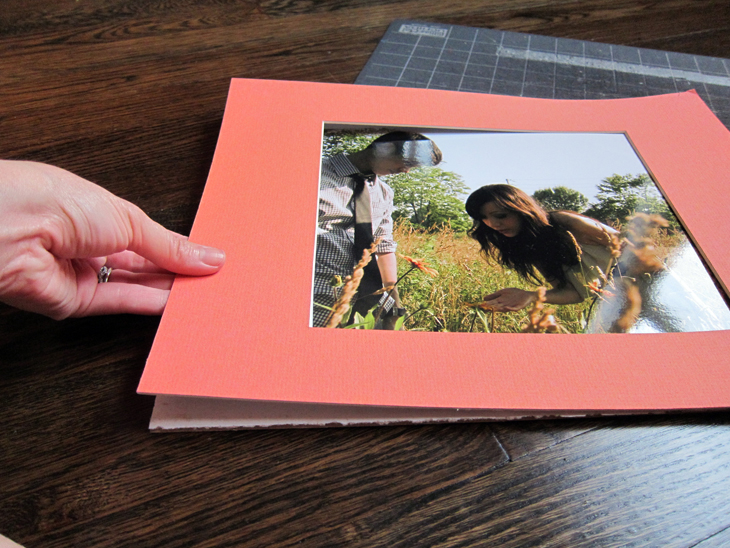
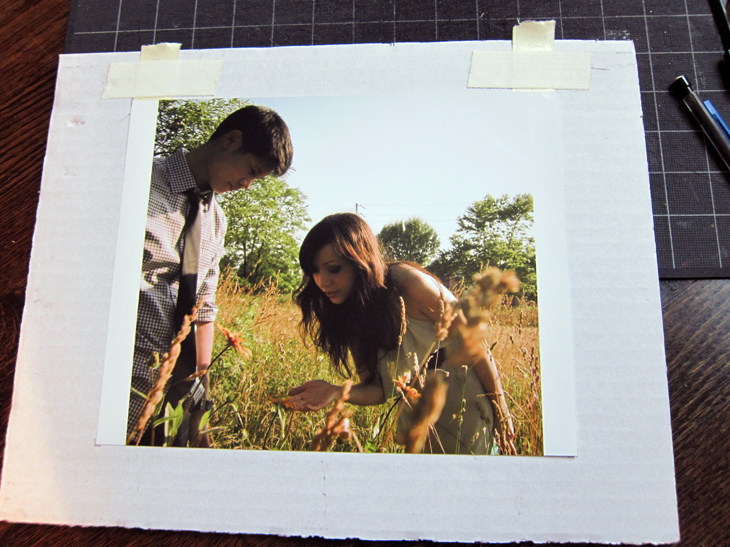
Now for the fun part – placing your photo. There’s no science to this. Just place your photo somewhere in the middle of your archival backing, place the mat on top, readjust as necessary until you have it exactly where you want it.
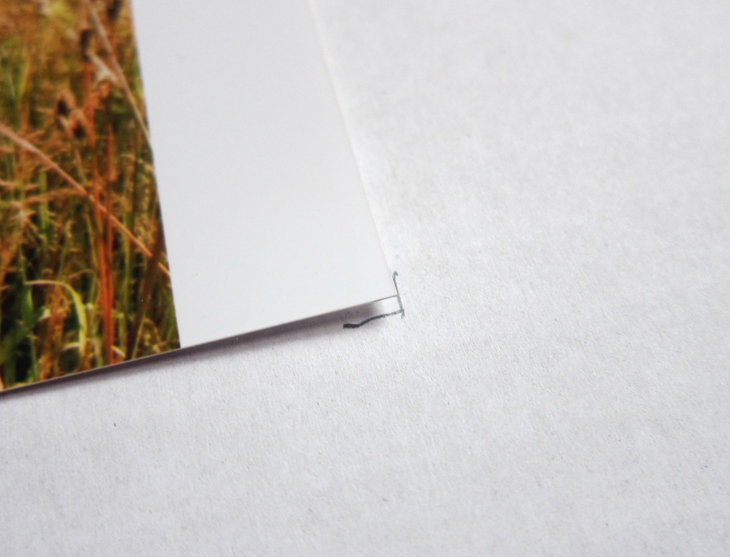
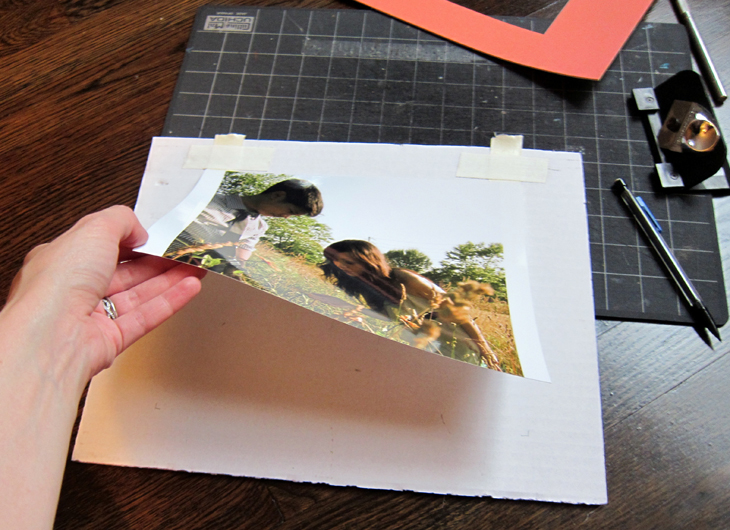
Once it’s in place, carefully lift the mat off of the photo and mount. If you do it too quickly, the gust of air will move the photo. Just to be safe I usually make little pencil marks on the backing at each corner of the photo.
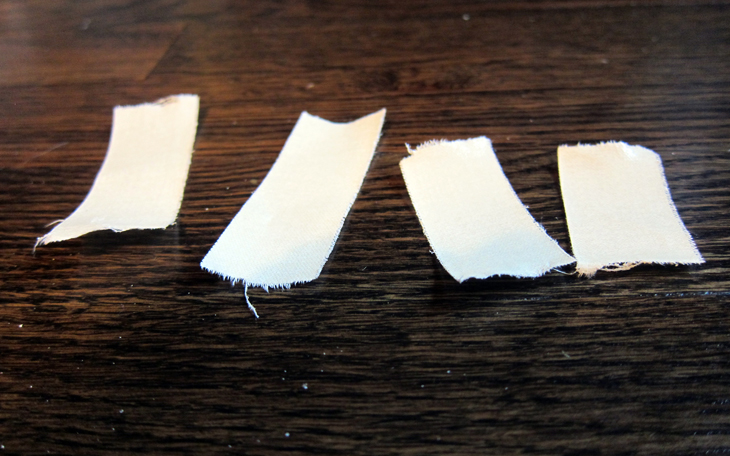
Next you’ll need the linen tape. Linen tape is archival and the adhesive is activated with water much like the flap of an envelope. Rip off four small pieces.
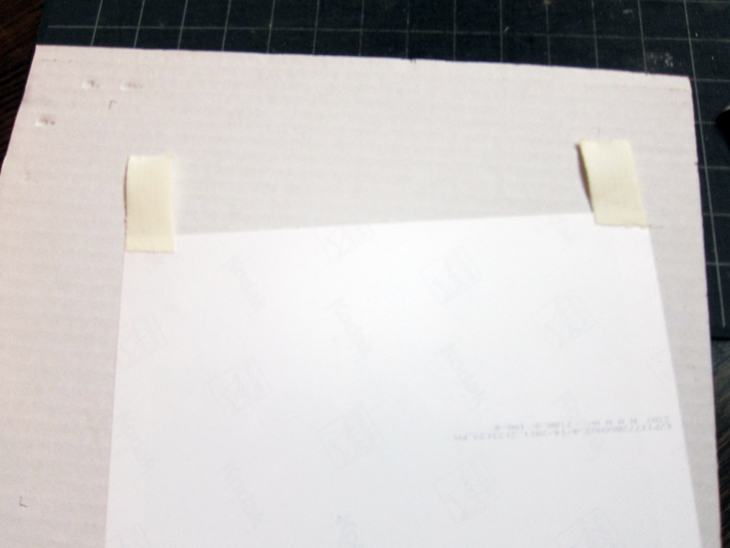
Now flip over the photo and adhere two pieces of linen tape vertically to the top outer corners. Try to maintain minimal contact. I think this method works better when you have a white border around the outside of the image.
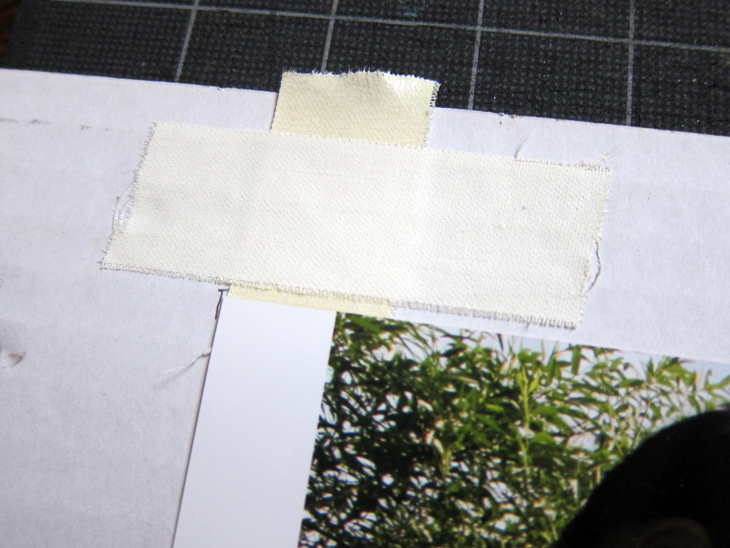
Flip the photo back to the front. The two previously attached pieces of tape should be facing adhesive side up. Place two more pieces of tape horizontally over the existing tape, adhering it to the archival-quality corrugated backing. Remember to use your penciled corner guides as reference for positioning. Cut off any tape that protrudes too far above the backing.
Many people will use photo corners to hold the picture into place since no adhesive gets attached to the artwork at all. I don’t prefer this method because if your mat does not crop far enough into your image, you’ll see the corners poking out. Also, I feel that the linen tape is just much more secure. If you decide to remove it from the mount in the future, you can just cut the hinged tape in half. Plus I think I’ll always be biased towards what I learned in art school.
Finally, all you have to do is sandwich your mat on top, assemble your frame, and wa la! You are all done!
Its a good idea to hang your newly framed artwork away from sunlight which is also damaging to it. If you want to get really obsessive about being archival, there are more great tips on this website.



Great how-to! Your friend who asked about this is truly a genius!