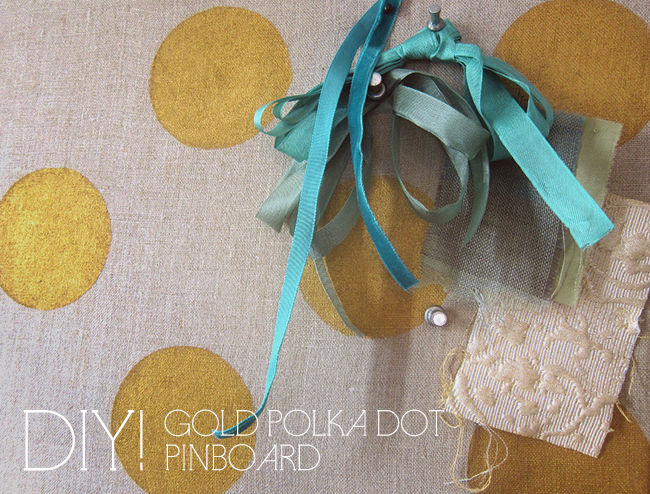
As promised in my last post, here’s a great DIY project involving gold polka dots!
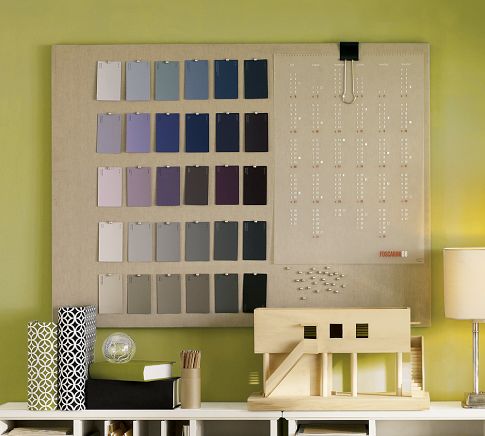
Ever since I was a kid, I had always wanted some sort of bulletin board for pinning up random pretty things and inspirations. So I definitely wanted to add one to the wall in my studio/work area. However, I’ve always hated the fleshy tan color of most cork boards. It doesn’t fit in with my decor, and its not the prettiest backdrop for whatever might be pinned to it. This Pottery Barn pinboard is what first inspired me to try covering a standard cork board with linen fabric.
But I hate simply knocking off an idea, so I decided to make it my own by adding gold polka dots – a major current obsession of mine.
Here’s the step by step:
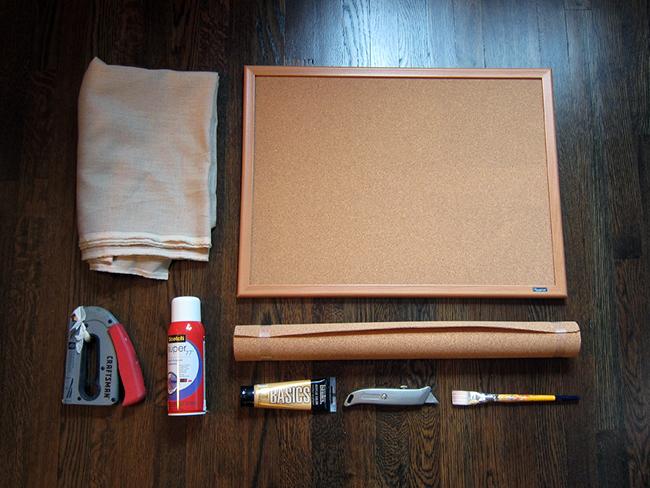
SUPPLIES:
1. Linen fabric
2. An existing cork bulletin board with a wooden frame (you can also use a flat wooden board which would be cheaper)
3. A roll of cork
4. A staple gun
5. Spray adhesive
6. Gold paint (acrylic or fabric paint)
7. A paint brush (I ended up using a different one from the one that’s pictured – you want one that is stiff bristled and flat at the tip for stippling)
8. An X-acto knife or utility knife
9. One sheet of card stock (not pictured)
10. A pencil (not pictured)
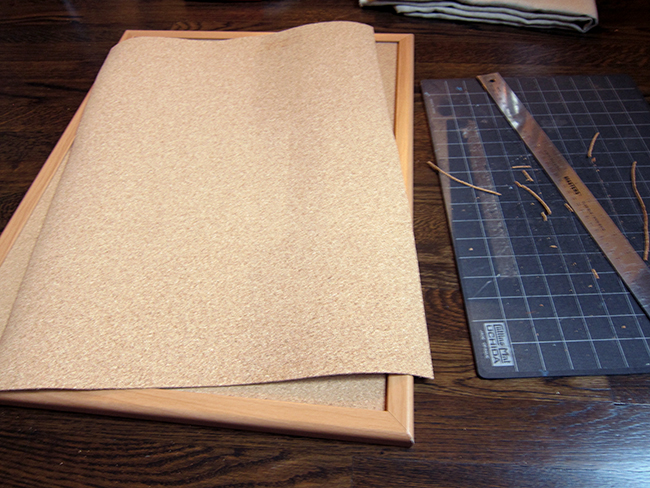
The first step is to cut your cork roll into a sheet the exact size of your bulletin board cork. If you are using an existing bulletin board, the purpose of this is to make the cork flush with the wooden frame. If you are using a flat piece of wood, you just want the sheet to line up with the edges of the wood. All of my pictures for this tutorial will be based upon working with an existing bulletin board since that’s what I had at home.
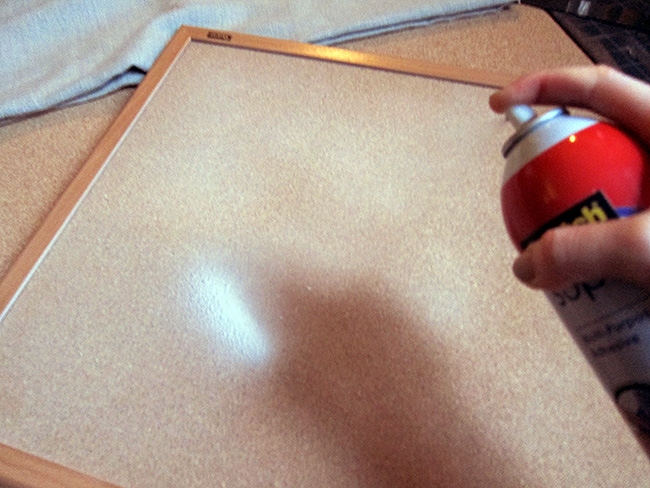
Next, spray your existing bulletin board or piece of wood with generous amounts of spray adhesive.
Lay your sheet of cork on top and make sure no edges are rolling up or un-sticking. I actually ended up having to use a little craft glue to affix some stubborn corners. I also ended up using two sheets of cork in order to get it flush with the wooden frame.
Once again, spray the surface of the cork with spray adhesive and cut a piece of linen few inches bigger than the dimensions of your bulletin board. It should have at least four extra inches on all sides (more doesn’t hurt).
You’ll probably need to iron the linen as it tends to wrinkle easily. You want it to look nice and smooth when you attach it to the pinboard.
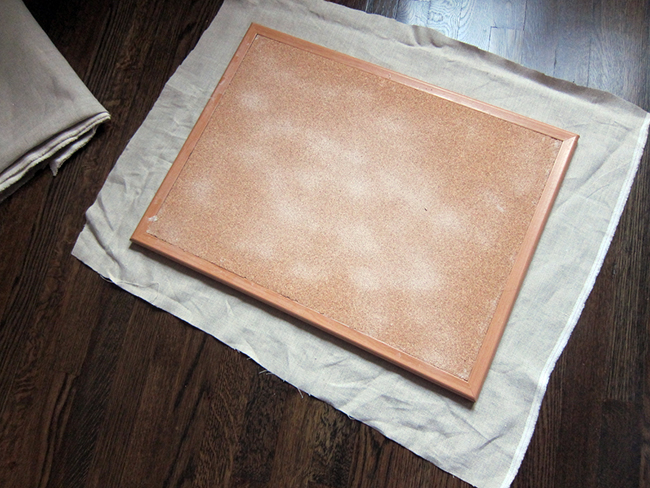
With the linen pressed and the board sticky and sprayed, center the linen on top of the bulletin board and smooth out the surface so that there are no bubbles or wrinkles.
Now flip everything over for stapling. This is why a wooden frame is important – you need something for your staples to go into. A solid flat wooden board also works great for this.
You’ll be stapling the linen the exact same way that you’d stretch a canvas for painting. Always start in the middle of an edge and pull the fabric inward, stapling with a single staple at a 45 degree angle. Its important to staple diagonally because you won’t be putting too much stress on any one row of fibers. It helps distribute the pressure.
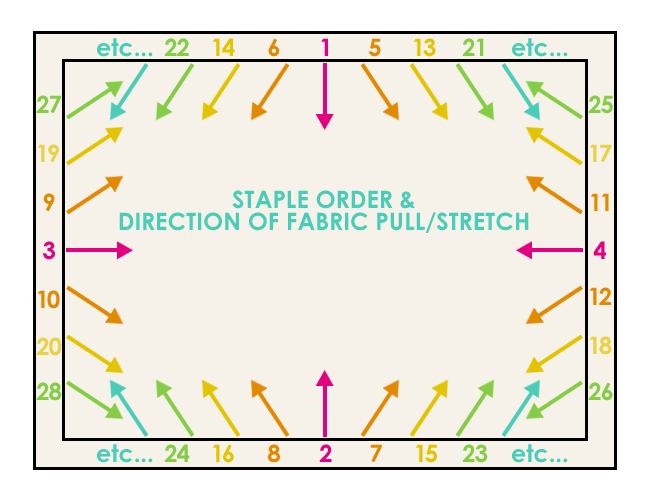
Go to the opposite edge and and do the same. Then do the same on the perpendicular edges. You’ll end up with something that looks like this:
To get a good stretch, you’ll want to work outward from these original four staples according to the diagram below. Always staple in this up-down-left-right pattern, working outward, and always pulling the fabric tightly inward and outward. This method will give you the most even and tight stretch.
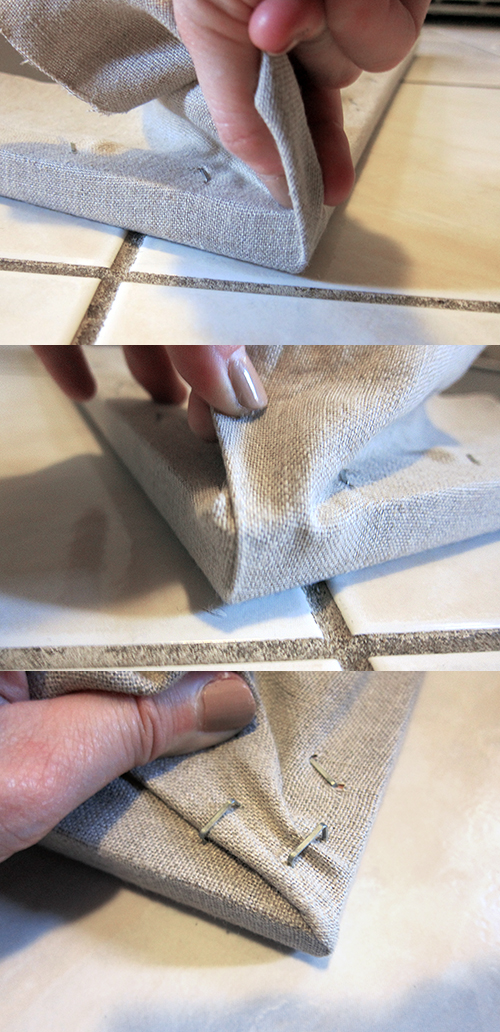
Once you make it all the way to the corners, you’ll notice that you have a lot of excess fabric.
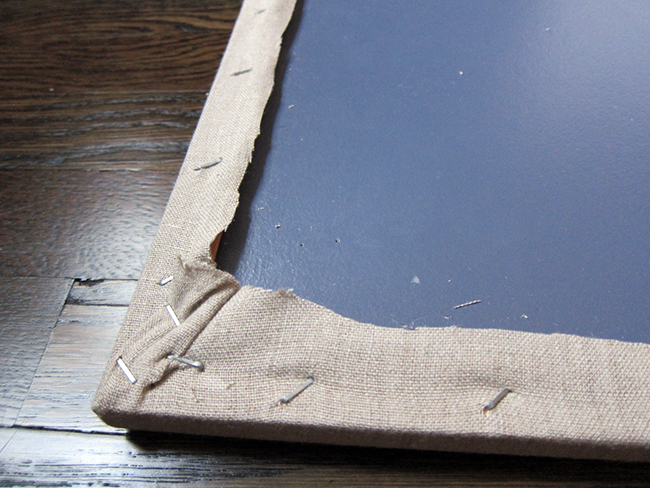
You’ll finish off the corners the same as hospital corners on a bed. You will probably need two or three staples to secure this extra fabric in place.
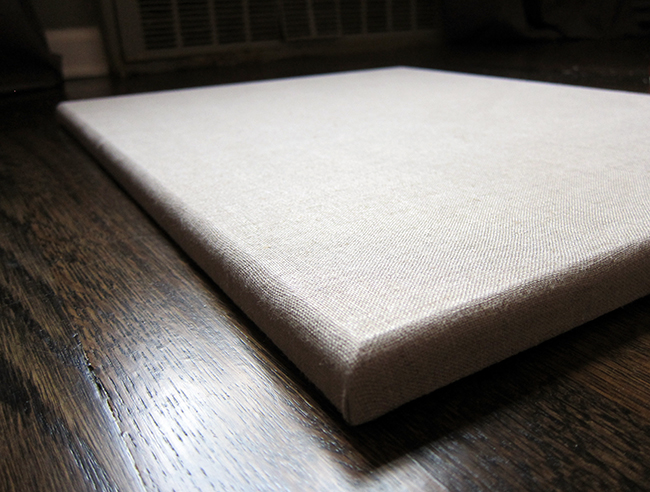
Clean beautiful corners!
Now that all the stapling is done, trim off any excess fabric!
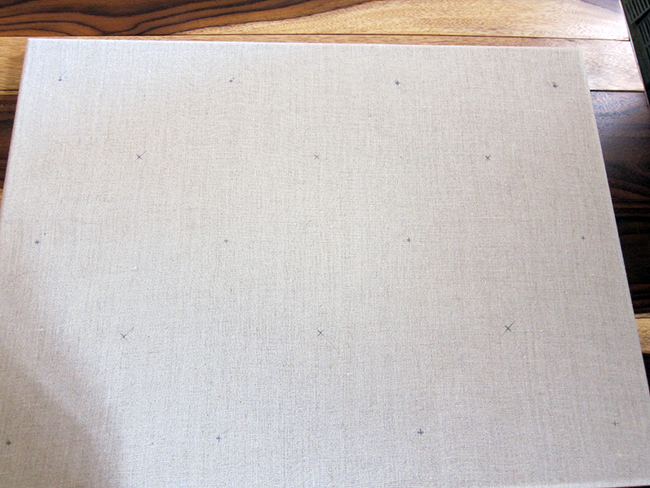
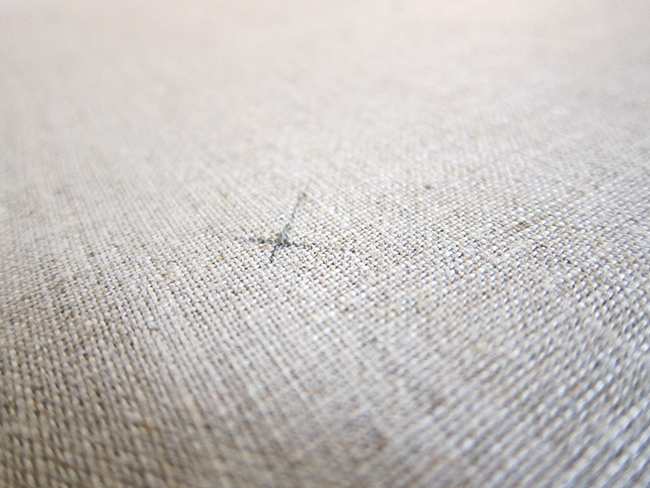
To prep for painting, use a pencil to mark where you plan to place your dots. If you are planning to do a random scattering of dots, this is not as important. But I wanted a regular, grid-like placement of dots, so proper measuring was important. I simply marked an ‘X’ to represent the center of the dot. The paint will cover this up later.
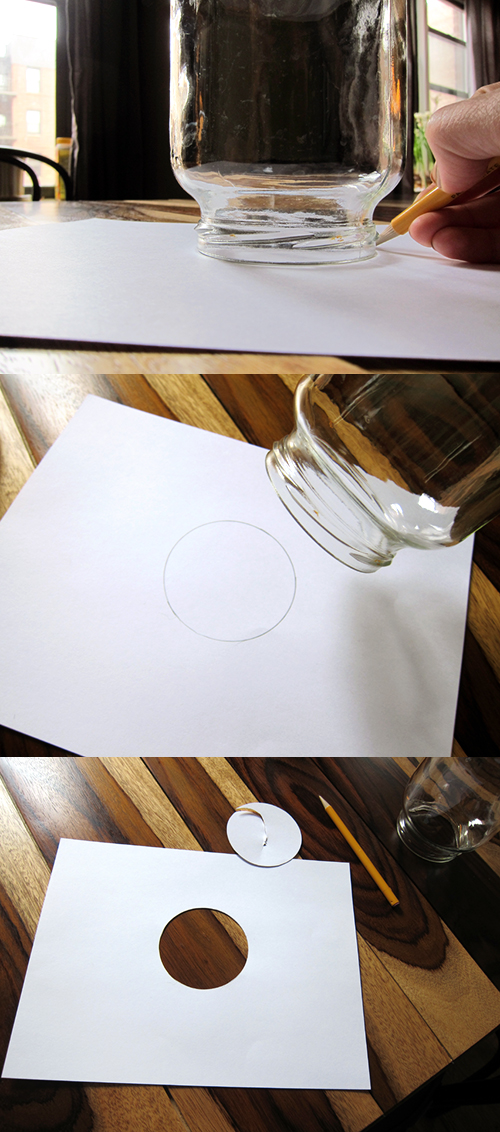
Next you’ll need to create a stencil for your dots. Do this by finding a circular household object that matches the size dot you prefer. I used the top of a jar, but cans and cups work great too! Trace this shape onto the center of a sheet of card stock then cut it out.
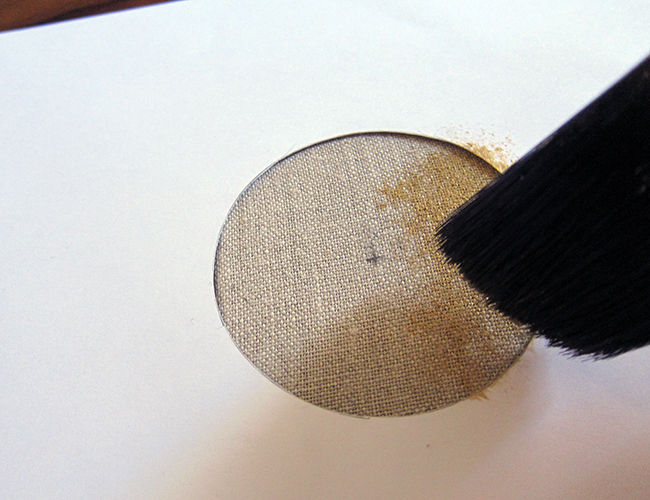
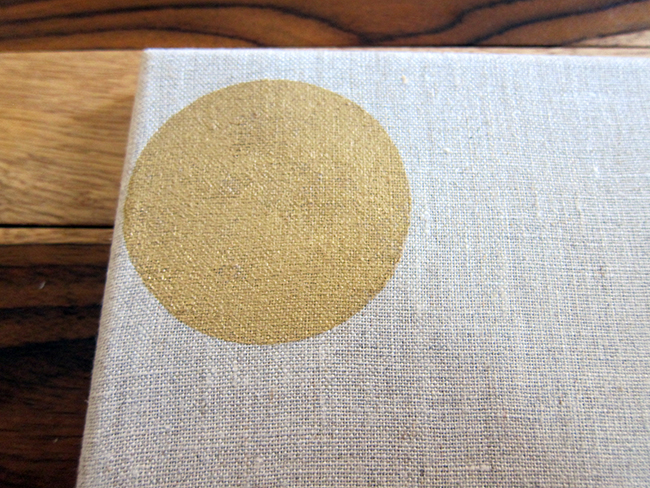
Center your stencil over one of your X’s and apply gold paint using a stippling motion. Keep the paint relatively dry and build opacity slowly. Don’t water down the paint or overload your brush. You don’t want it to seep under the stencil and you don’t want too thick of a layer of paint. Add just enough to cover your pencil marks.
Repeat this for every dot. If your stencil starts to get flimsy from the wetness of the paint, you may need to make another one.
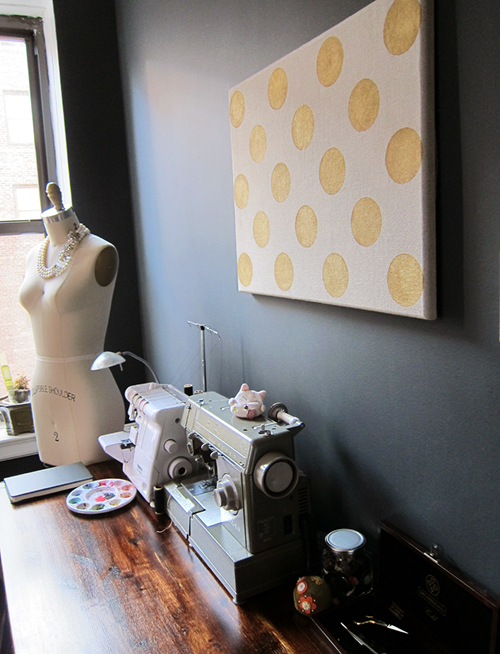
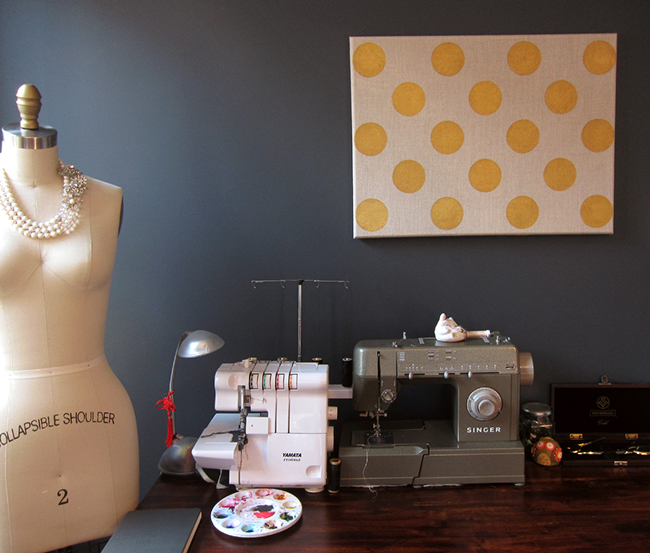
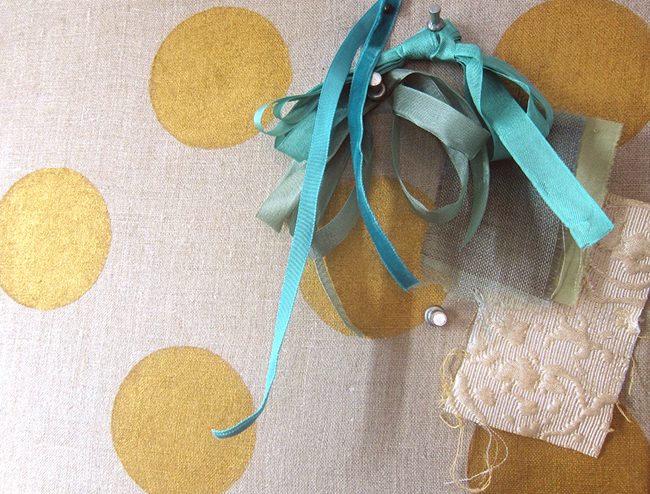
And here’s the finished pinboard! Just hang it using the instructions that came with the original bulletin board. If you did this project using a wooden board, any sort of picture frame hanging hardware would probably work fine. You can also do this project with any colored fabric and any colored paint you like. Different shapes and patterns might be fun too!














It looks great !!! Good job hunnie ! I was wondering what all that stuff on the floor was for.
what joe said. great simple tutorial!
WOW! This is great! Smart idea, easy to follow, and well blogged!
[…] Fortunately, my frame came with a back piece I was able to wrap batting and fabric around and staple tightly to create the actual pinboard. If you only have the frame, consider using cork, a ceiling tile or homasote (sound-proofing board) to create your pinboard. Check out Cheryl’s post if you want more detailed instructions on how to create your own pinboard. […]