Other posts in this series: Day 1, Day 2, Day 3, Days 4-5, Days 8-9, Days 10-11, Days 12-13, Week 3, Before&After
I decided to combine renovation progress posts two days at a time…especially considering our contractor told us we still have two weeks to go.
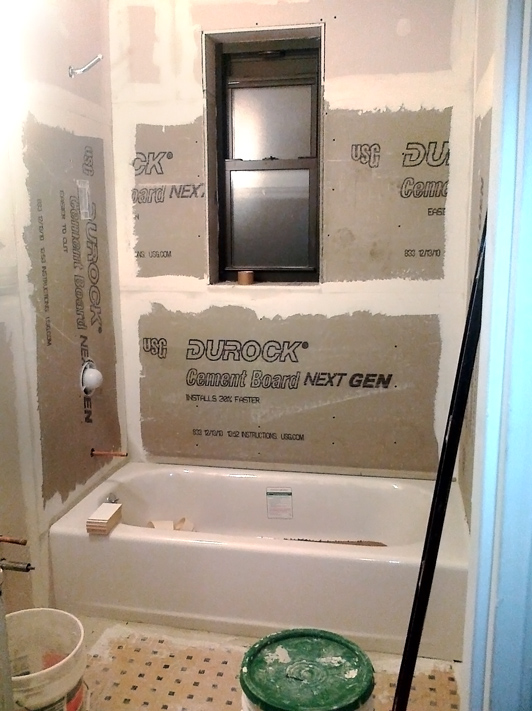
On day 6, they put up the cement backers in the bathroom. I was mistaken about the fact that tiling was next. But thanks to some helpful advice from Allan’s comments in my last post, we know what important steps to look out for in building a quality, long lasting bathroom. We checked in with our contractor about the materials he was using and asked him to make sure everything was waterproofed. However, our contractor and a second opinion we got from a plumber that a friend knows, both said that redgard is not necessary if you have proper ventilation in the bathroom. Sigh, whoever is correct, you can check out the comments from the last post for more specific information.
Not much else was completed. But we chose out tile spacing. below you can see our two options. I had a really hard time deciding because this was a detail i had never considered before. But I chose the narrower spacing figuring you cant go wrong with subtlety. I am planning to use “charcoal” colored grout to contrast with the white tiles and I’m thinking less is more. Especially since the penny tile floors will already be showing a large amount of grout, just because of the nature of round tiles.
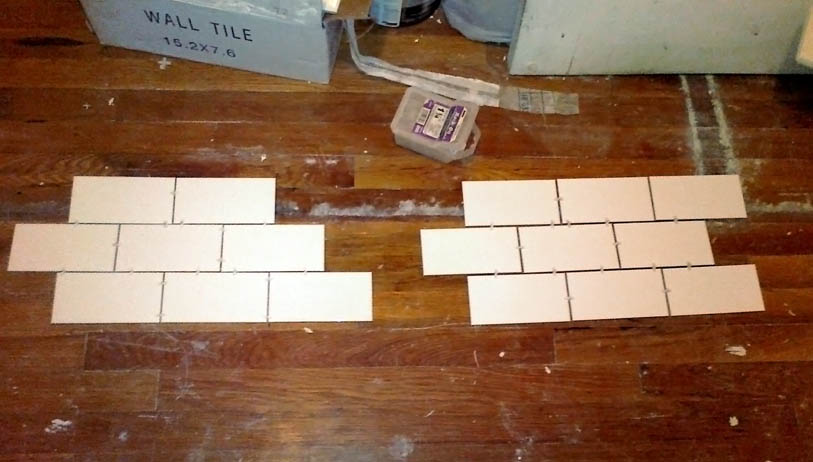
Our two options: The tile spacing on the left is about 1/16 inch, and the spacing on the right is about an eigth of an inch.
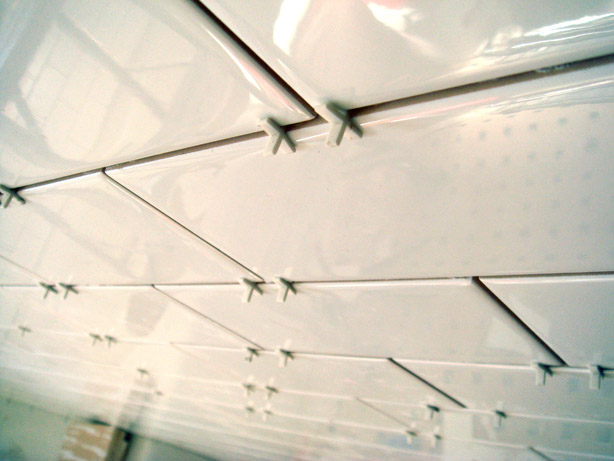
On day 7, they started tiling as well as a few other things around the apartment. They glued up the tiles in half of the bathroom, but they still have not started grouting.
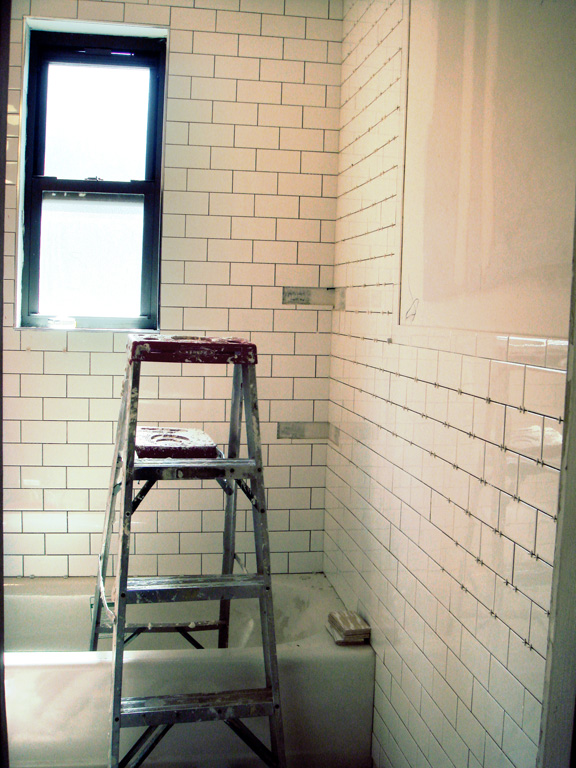
The right side of the bathroom has now been tiled. Still no grout though. You can also see two rectangular bald spots in the shower corner. We are getting ceramic shelving installed there.
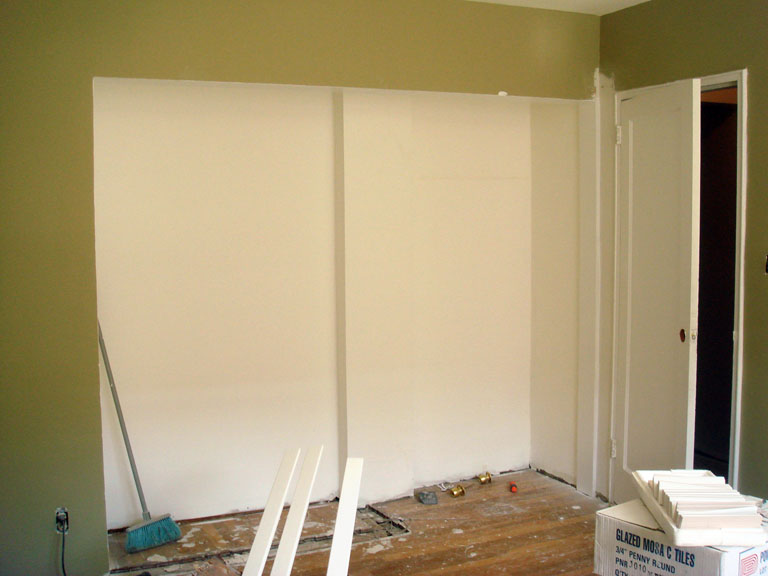
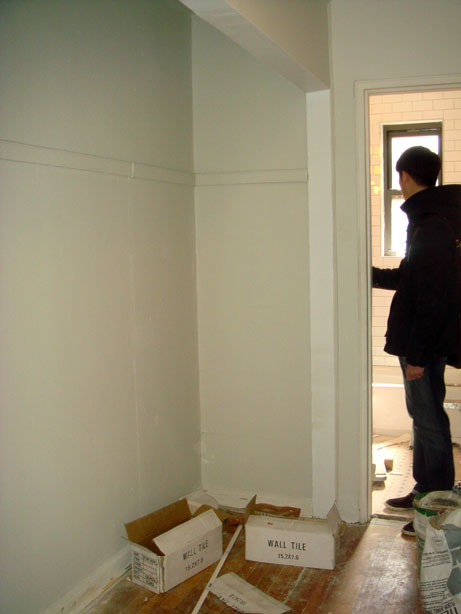
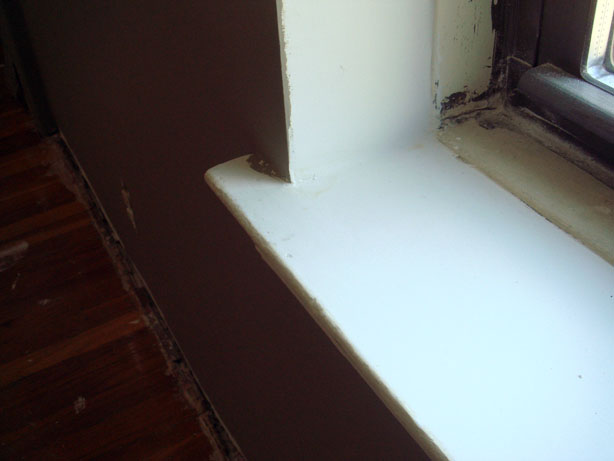
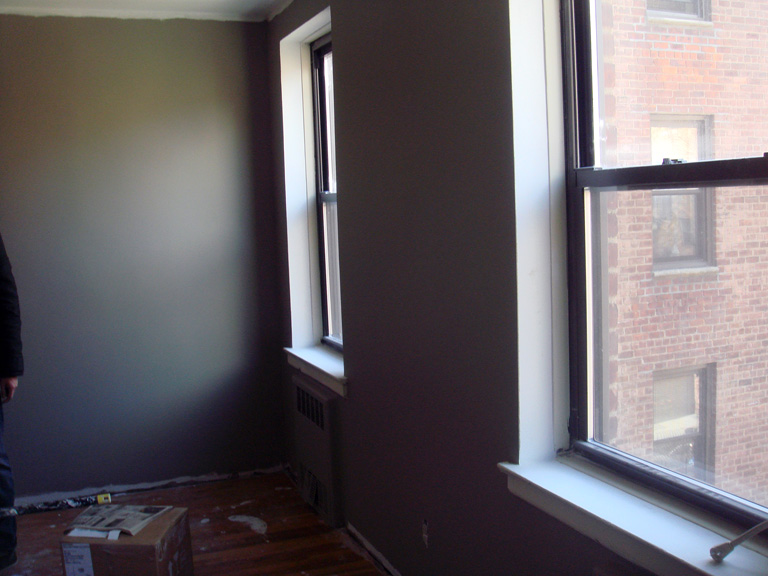
All the other work was pretty minor. They painted the closet interiors and sanded down the window sills. The windows, like everything else, had many gunked on layers of paint, and its nice to see them looking new and smooth again.


Honestly, it’s not really a matter of who’s right and who’s wrong. You guys are the homeowners, you are the ones paying for the renovation. If you’re comfortable with CBU over your wood, with no moisture barrier, then no problem. Education on these things is the most important thing.
Just know that what your contractor / plumber friend is saying: make sure you ventilate your bathroom properly – which means, keep your window open year-round if you don’t have a bathroom fan, particularly after a shower.
Did they insulate that external wall?