Other posts in this series: Day 1, Day 2, Day 3, Days 4-5, Days 6-7, Days 10-11, Days 12-13, Week 3, Before&After
More tiling!
Apparently the tile I chose is more labor intensive since it’s somewhat small in size. So that’s the main, time-consuming thing that has been happening for the past two day – affixing tile. We still have not gotten to the stage of grouting, but it was pretty exciting to see all of the wall and floor tiles up, and they even painted the bathroom walls. Its really turning into the bathroom I had imagined, and I couldn’t be happier with the progress.
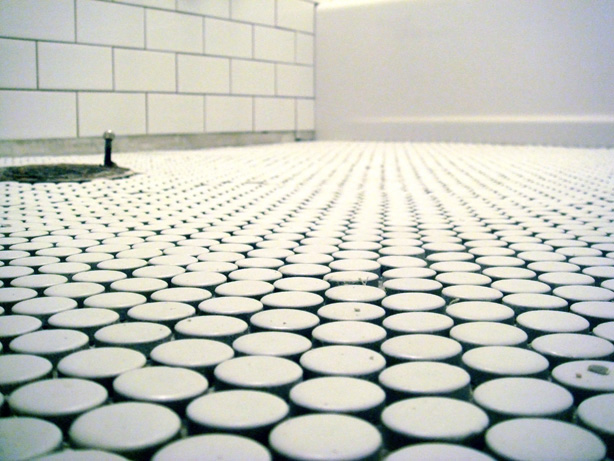
As you can see, they still have not added grout, but this is basically what it will look like. We plan to use "charcoal" colored grout.

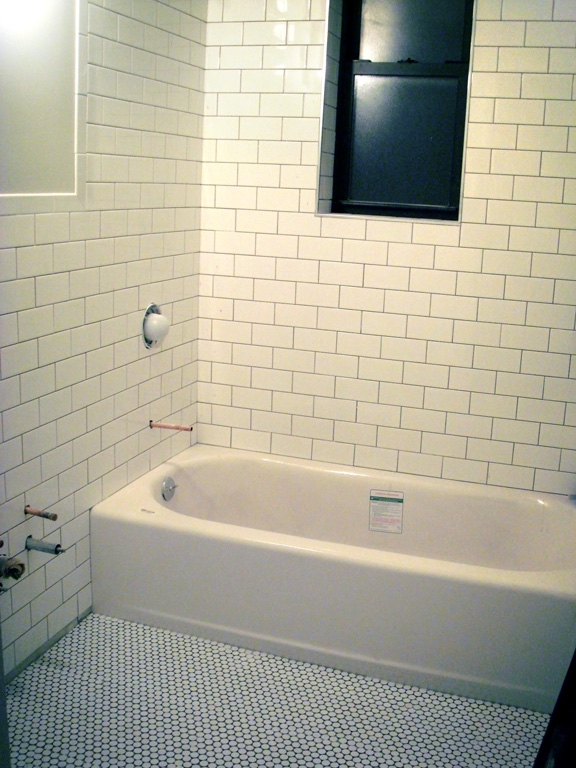
The shower shelves have been inserted and the walls have been painted a pale grey color. It looks pretty obviously grey in this picture, but in person it looks much lighter.
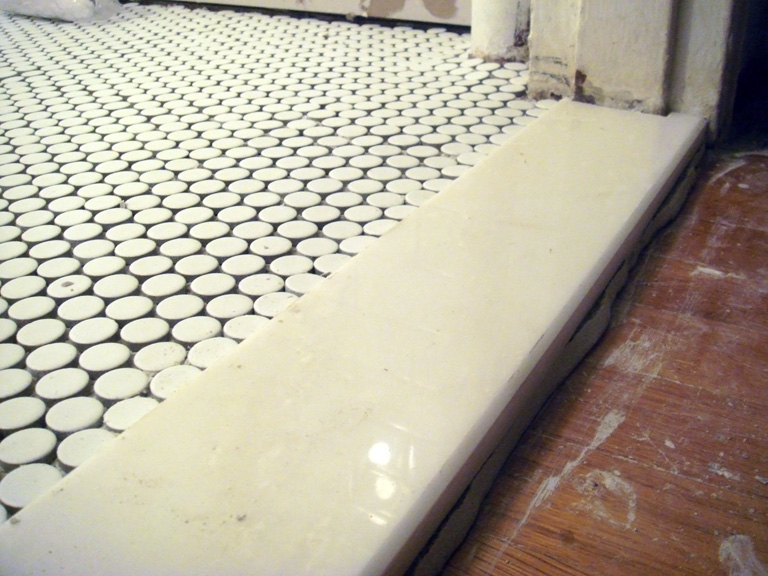
They also installed the door saddle. This was one detail that I completely overlooked and had to buy last minute. Looks good though, although I'm not really sure what that goopy stuff is sticking out from underneath. I'm assuming its some sort of adhesive. hopefully that gets trimmed away later. The door frame will also be re-painted later.
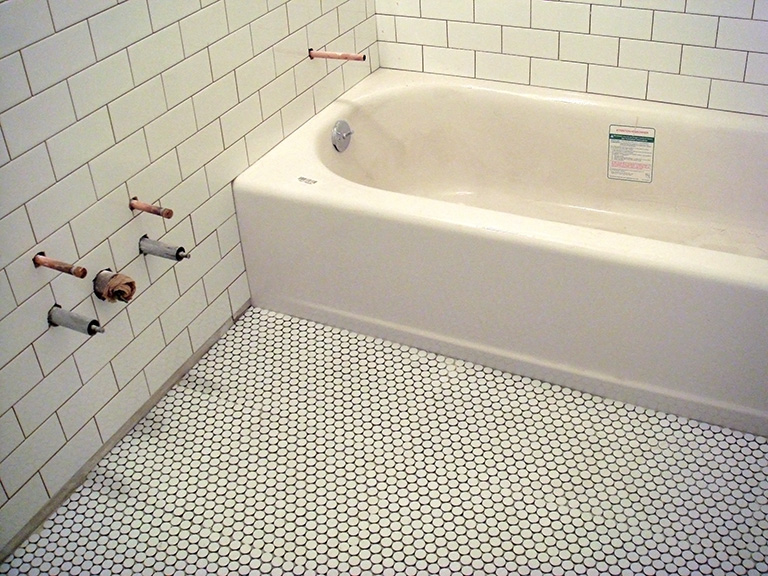
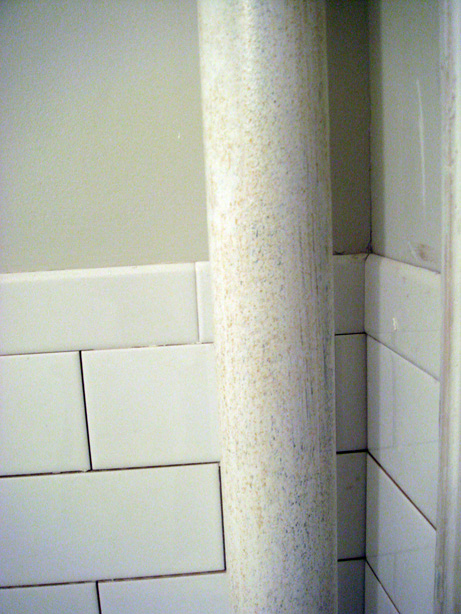
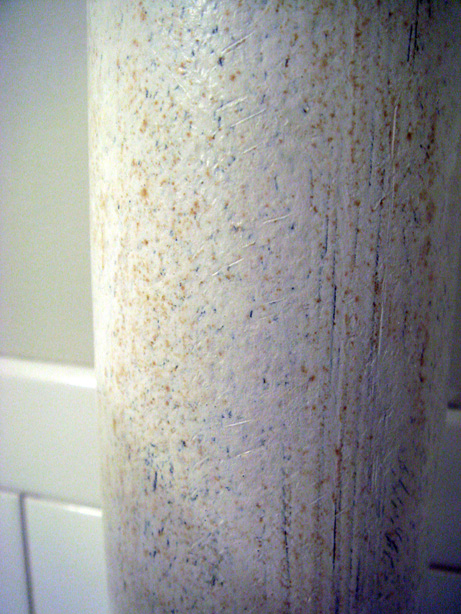
One other thing our contractor did was to scrape off the old layers of paint from that corner heating tube thingy you see in a lot of NYC apartment bathrooms. He also re-painted it, but i’m a little concerned because the new layer of paint is already starting to develop brownish spots on it (see below). Are those rust spots seeping through? Or are they burn marks from the heat of the tube? I have no idea, but I’m wondering if it should have been primed with something first…or if there is a special heat resistant paint that is supposed to be used? If any of you have experience with this, please let me know.

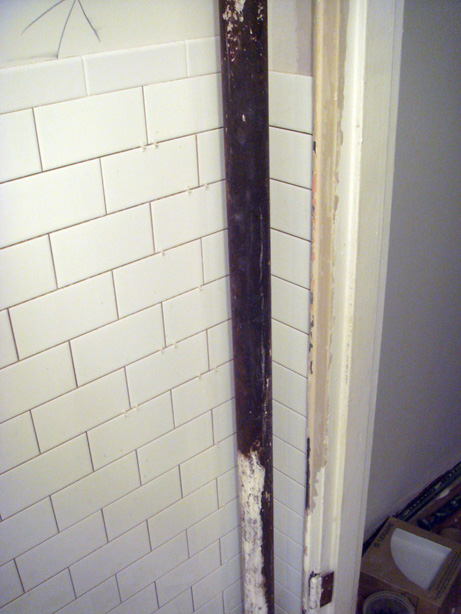

shouldn’t they have painted the door frame first and then added the door saddle? this way the paint doesn’t get on the saddle…although there may be a more practical reason as to why they did it in the order that they did. i confess i do not know much when it comes to renovations.
that would be my logical thinking too. who knows, hopefully he knows what he’s doing, even if he didn’t use heat resistant paint…..
it’s exciting to see the huge changes! =)
it’s metal bleeding through the latex(?) paint. for metal, you need oil based paint…
you probably need to just wait and do it yourself (read comments)
http://www.brownstoner.com/forum/archives/2008/08/painting_the_he.php
I totally love your renovation updates!
This contractor is something…he told me my tiles took more work because they were larger than normal, so he had to use special tools to cut them. Whatever he says. Who knows.
He scraped off the old paint and repainted my heating pipe too. I don’t see any of that rust on mine, perhaps he just primed first and is going to apply another coat or two later? Mine certainly does NOT look like that!
i know who would know a lot about this…daddy!! hes only been in paint for 20 years (he told me to say that). he says yeah, dont use latex and they need to get rid of the rust before painting.
I always prefer to use floor tiles that are made from hardened ceramic or carbon fiber based floor tiles. they really last very long and requires less maintennance. .:.:.
Have a great day!
http://www.caramoantravel.com